
Bring your KiCad project to Flux and continue it here. Use this tutorial to map KiCad workflows and terms to Flux.
Import Your KiCad Project
Attach your KiCad project files, or a ZIP file of the project folder, to a message in the Chat panel. Ask Flux to import them. Flux creates a new project from the files.
To do it in the UI:
In Flux, select Import from the Flux menu, then select Project…. Upload your KiCad .kicad_pro, .kicad_sch, and .kicad_pcb files, a project folder, or a ZIP file. Each import creates a new project. It does not update an existing project or part. For KiCad library files, see Import part libraries.
To import KiCad libraries, select Flux menu → Import → Part… and upload .kicad_sym, .kicad_mod, or legacy .lib files with their .step or .stp models.
What you can do with your design in Flux
Flux is an AI hardware engineer. After the import, your design is a Flux project. Ask Flux to work on it. Flux works on the electronics, the mechanical parts, the firmware, and the manufacturing in the same project.
Turn the imported board into a complete device
Use the imported KiCad schematic and PCB as the starting point. Ask Flux to design an enclosure around the board, then write firmware for the microcontroller and peripherals in the schematic.
Use the board outline, mounting holes, connectors, and clearance needs from the imported design to shape the enclosure.
Use the imported schematic's pin assignments and connected parts to guide firmware for the microcontroller.
Review the imported design
Ask Flux to review the schematic and the board. Flux reads the datasheets of the parts and reports the problems that it finds, with a fix for each one. Flux can also make a failure mode and effects analysis (FMEA) report.
Find replacement parts
Ask Flux to find replacements for parts that are obsolete, out of stock, or too expensive. Flux checks live stock and pricing from distributors and compares the datasheets before it changes a part.
Place and route the board
Ask Flux to place the components and route the board. Flux sets up the stackup and the layout rules, places the parts, routes the traces, and runs the design rule check. You can change any part of the layout by hand.
Simulate high-speed and RF signals
Ask Flux to run an electromagnetic simulation of the routed board. Use it for the impedance, losses, and coupling of high-speed traces, and for antennas and RF feed lines. Flux reports the results with plots.
Check the board temperature
Ask Flux to run a thermal simulation of the PCB. Flux calculates the temperature of the board and its components from the power that each part dissipates, and shows the hot spots.
Design the enclosure and mechanical parts
Ask Flux to design enclosures, brackets, mounts, mechanisms, and other mechanical parts and assemblies around the board. Flux uses the board outline, the mounting holes, the connectors, and the 3D models of the parts. In the 3D view, you can cut through the model to check the clearances. See Mechanical Design.
Edit your existing STEP files
Upload a STEP, IGES, or BREP file from your mechanical team and tell Flux what to change. Flux saves the result as a new model with editable CAD code. Your original file stays unchanged.
Check the mechanical parts and the air flow
Ask Flux to analyze the mechanical parts. Flux calculates the stress and the deflection of a bracket or a housing. Flux checks the fit and the clearances between the board and the parts around it. Flux also simulates the air flow and the cooling through an enclosure with a fan or vents. Flux reports the results with numbers and images.
Write the firmware
Ask Flux to write firmware for the microcontroller on the board. Flux uses the pin assignments of the design. Then it builds, analyzes, and unit tests the code.
Design the cables between boards
Ask Flux for a cable between two connectors in the design. Flux reads the pinout from the nets, finds the mating housings, and picks the wire. Then it gets a price, the lead time, and a checkout link from a harness manufacturer.
Get quotes and order
Ask Flux for PCB quotes from manufacturers such as JLCPCB, PCBWay, OSH Park, and AISLER, and order the boards. Ask for 3D-printing quotes and orders for the mechanical parts. You can also export the Gerber, drill, BOM, and pick-and-place files. See Manufacturing files.
Overview
Key differences when you move from KiCad to Flux:
User Interface
Flux uses one workspace for libraries, schematics, and PCB layout.
Open projects by URL.
Flux saves project changes in version history.
Parts and Libraries
KiCad manages global and local libraries separately. Flux has one library, and access depends on the part owner's permissions.
KiCad stores symbols and footprints separately. A Flux part contains a symbol and footprint.
Import a KiCad library into Flux. Import part libraries
Schematic Editor
Find properties, datasheet links, and pricing in the Inspector panel.
KiCad uses labels to connect nets. Flux uses net labels and power symbols that connect pins with the same net name.
PCB Editor
Flux synchronizes schematic and PCB data automatically.
Find layout rules in the Rules tab in Flux.
Flux creates ground fills automatically. Copper fills and polygons
Accessing Libraries, Schematics, and Layout
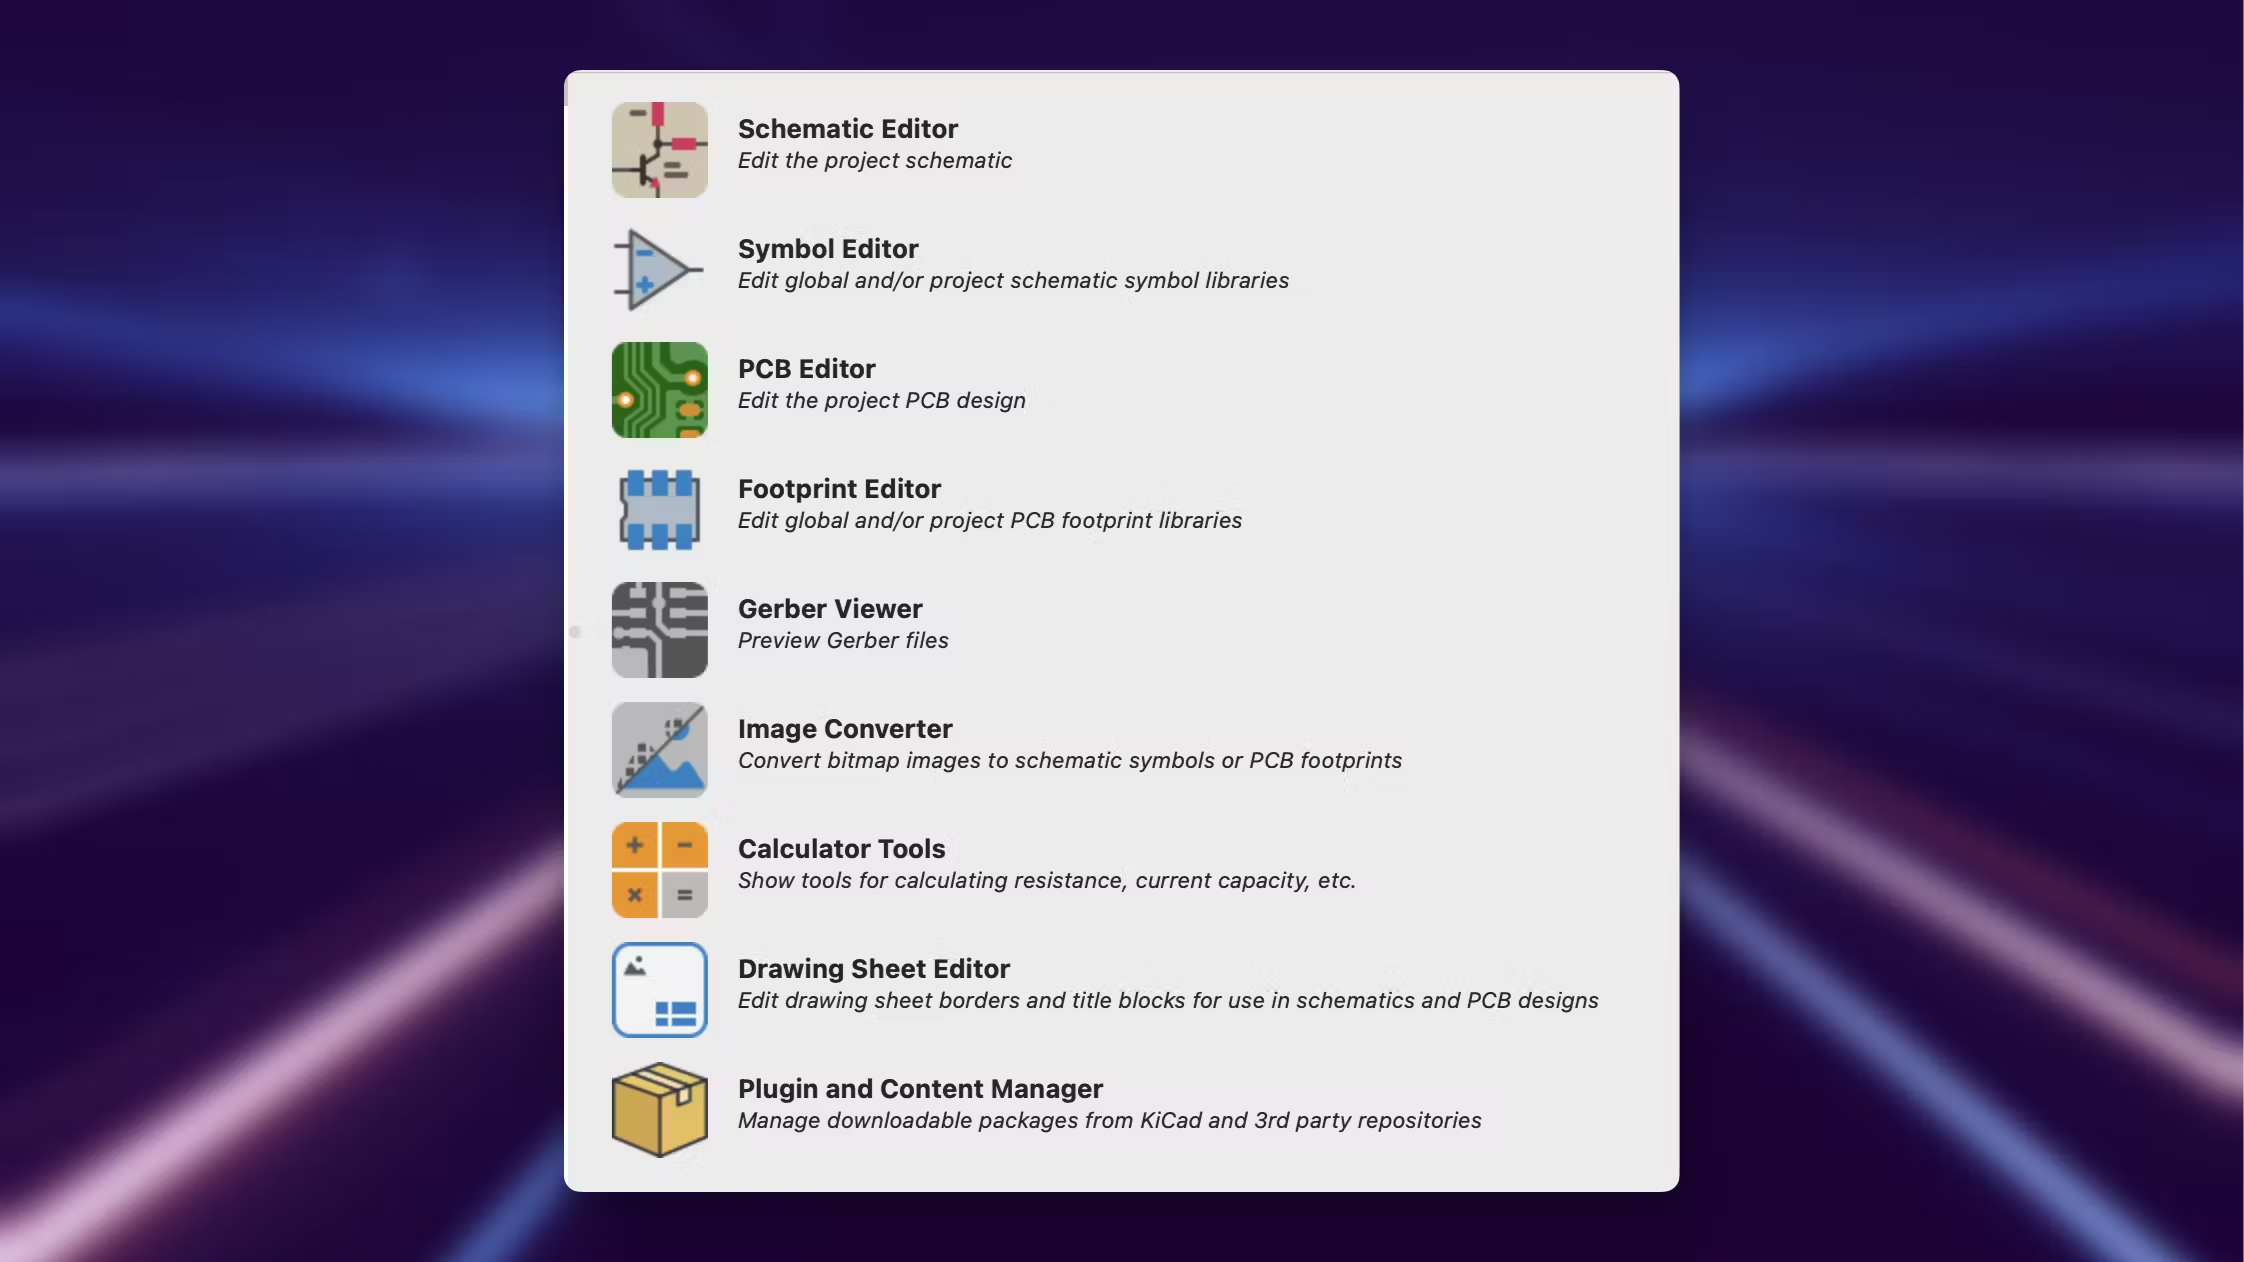
In KiCad
KiCad uses multiple tools for each aspect of your design:
Symbol Editor for creating/editing symbols
Footprint Editor for footprints
Schematic Editor and PCB Editor for circuit design and layout
In Flux
Flux combines these workflows in one workspace:
Profile page: Find projects you contributed to, starred, or cloned. Share your profile URL to show your public projects.
Project page: Access parts, schematics, and layouts.
Project URLs: Open and share projects without managing separate files.
Share a project URL to give others access to the same design.
Next in the KiCad to Flux tutorial -> Parts and Libraries (KiCad to Flux)