In this tutorial, we'll explore the different ways to create and modify board outlines in Flux, allowing you to customize your PCB shape and size to fit your project requirements.
Overview
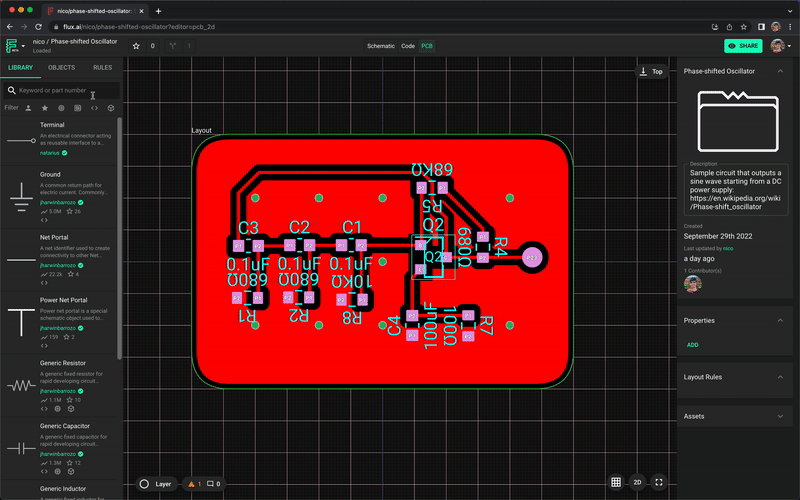
The board outline defines the physical boundaries of your PCB and is one of the first design decisions you'll make. Flux provides several options for creating board outlines, from simple shapes to complex custom designs.
We'll cover the following topics:
Basic shapes: Create circular or rectangular boards with precise dimensions
Rounded corners: Add rounded corners to rectangular boards for improved manufacturability
Custom shapes: Import external shapes for complex designs
Best practices: Guidelines for creating effective board outlines
Basic Shapes
Flux has built-in support for simple shapes (circular and rectangular). For complex shapes, please refer to the section on Advanced (custom) shapes.
Changing the Outline Shape
To change the shape of your board outline:
In the left-hand panel, select the "Objects" tab and choose the "Layout" object
In the right-side panel, find "Object-Specific Rules". Click on "Edit", "Add" and search for the rule "Layout Shape". You can also use the toolbar for quicker access
Choose between a circular and rectangular board shape

Adding Rounded Corners
Rounded corners can improve manufacturability and reduce stress concentrations in your PCB. To add rounded corners:
In the right-hand panel, select the "Objects" tab and choose the "Layout" object
In the inspector panel, find "Object-Specific Rules". Click on "Edit", "Add" and search for the rule "Corner radius"
Input the radius values for each corner:
You can add more than one number. The first number corresponds to the top left corner, and the following to the other corners clockwise
If you add a single number, all corners will have the same radius
For example, typing
1mm, 5mm, 10mm, 15mmmeans the top left corner has a radius of 1mm, the top right corner 5mm, and so onFor example, typing
1mmmeans all four corners will have a radius of 1mm
Most PCB manufacturers recommend a minimum corner radius of 1mm (39.37mil) to avoid stress concentrations and ensure proper milling.
Changing the Outline Size
To specify the exact dimensions of your board:
In the left-hand panel, select the "Objects" tab and choose the "Layout" object
For the layout object to appear, there must be at least one part in the schematic
On the right-side panel, find "Object-Specific Rules". Click on "Edit", "Add" and search for the rule "Size"
Type the desired size
You can specify the units by adding "mm", "in" or "mil"
You can add two values separated by a space for x and y sizes. For example,
20mm 10mmmeans an x size of 20mm and y size of 10mm
Advanced (Custom) Shapes
For more complex board outlines, Flux supports importing custom shapes through external files:
Currently, the only way to create a more advanced or custom shape is through external files
These files contain the desired shape and are imported via external assets into Flux
We created a specific tutorial on custom pad shapes that shows how to create advanced shapes, and the same principles apply to board outlines
Troubleshooting Common Issues
Shape Not Updating
If your board shape isn't updating after changing settings:
Verify that you've selected the correct "Layout" object in the Objects tab
Make sure you've added the rule correctly through the Object-Specific Rules menu
Try refreshing the view by zooming in and out
Size Constraints
If you're having trouble with board dimensions:
Ensure you're using the correct units (mm, in, or mil)
Check that your dimensions are reasonable for PCB manufacturing (typically between 5mm and 500mm)
Verify that there's enough space for all components and traces
Custom Shape Issues
If you're having trouble with custom shapes:
Verify that your imported file is in a supported format
Check that the shape is closed (no open paths)
Ensure the shape is properly scaled to your desired dimensions