PCB Routing in Flux
Create efficient, reliable PCB designs with Flux's intuitive routing tools.

Overview
This tutorial will guide you through the essentials of PCB routing within Flux. You'll learn everything from basic trace placement to more advanced practices like adjusting trace properties, layer transitions, and impedance matching.
Whether you're setting up simple connections or navigating complex routing scenarios, this guide provides a clear, step-by-step pathway to mastering routing in Flux.
Getting Started
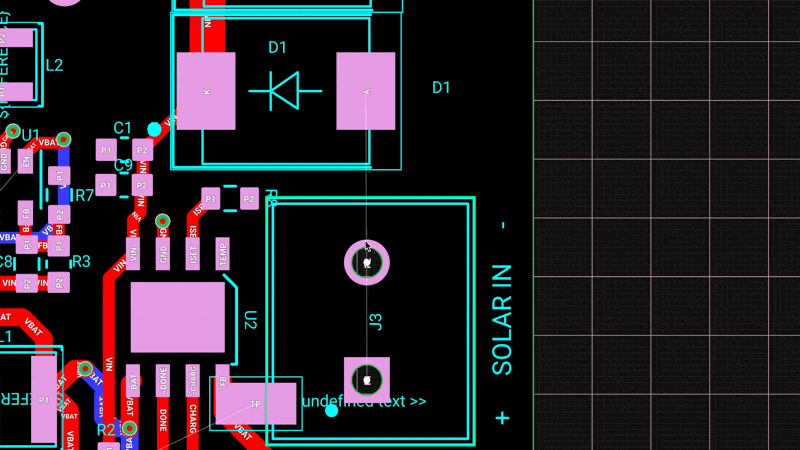
Routing with Flux is straightforward and user-friendly. There's no need to navigate complex toolbars. In Flux, you begin routing by locating a routing touch point on your design. These touch points are available on any pad that has a connection made on the schematic.
To route a new trace:
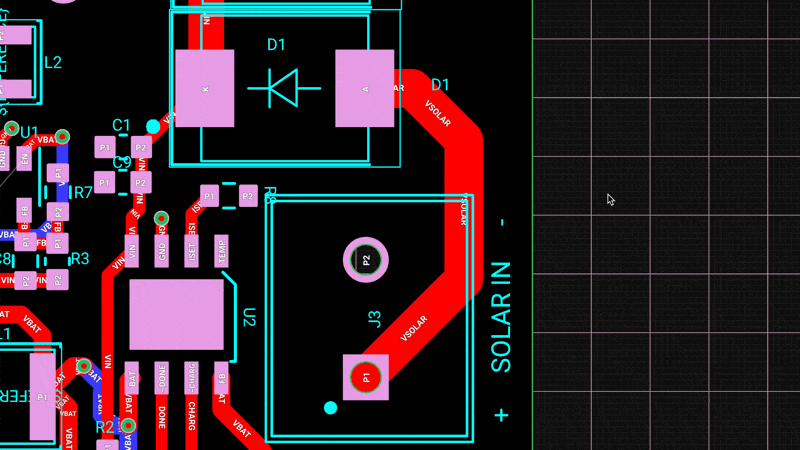
Click on a routing touch point to start a new trace from your selected component
Use any of these keyboard shortcuts to modify the traces while routing:
Fto toggle the elbow directionWto cycle through preferred trace widthsShift + Wto cycle backwards through preferred trace widthsShift(hold) to free-draw traces at any angleVto add a via and change to the next layerCtrl(Windows/Linux) or⌘(Mac) to toggle multi-routing mode when available
Left-click to place the current segment in the layout
To finish routing, left-click on the target pad or press
Escto end the trace
Pro Tip: Press Ctrl + / (or ⌘ + / on Mac) to view all available keyboard shortcuts. For a complete list of shortcuts, see our Keyboard Shortcuts Reference.
Changing Trace Widths
Different parts of your project may require varying trace widths for optimal performance. Flux offers several methods to configure trace widths based on your requirements and the project state. We'll start with simpler methods and progress to more advanced, powerful techniques.
Below is an overview of the different options. For a more detailed tutorial on trace widths, please refer to this tutorial.
Option 1: Preferred Trace Width
You can define a set of preferred trace widths for each project.
To define your preferred trace widths:
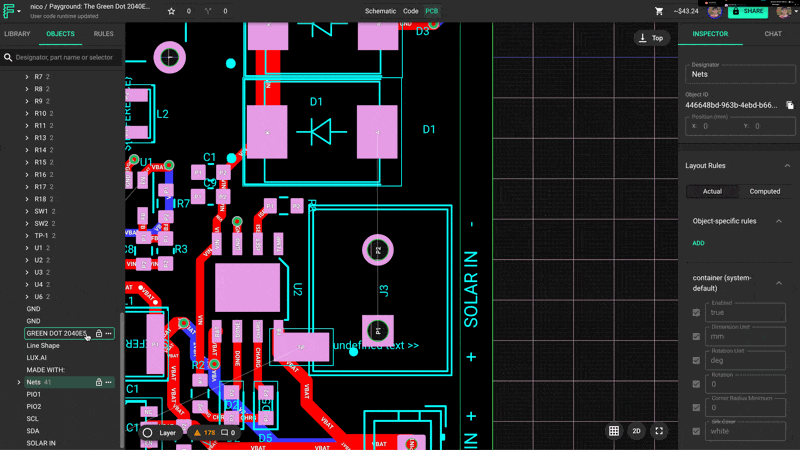
Use the object tree on the right-side to select the target net
Add a
Preferred Trace WidthruleAdd the preferred trace width values, separated by a space. For example
150um 300um 500um
To toggle a target trace through the defined preferred widths:
Use the W key while in routing mode to cycle through the defined preferred widths
Option 2: Using the Toolbar (Recommended)
When selecting a specific trace segment, the toolbar will automatically appear, providing quick access to adjust that segment's width. Simply select the trace and use the "Trace Width" option in the toolbar.

Option 3: Rules
Rules provide a powerful way to manage trace widths, allowing for fine-tuned configuration at the project, net, or even segment level. For a detailed guide on using rules to configure trace widths, please refer to this dedicated tutorial.
Changing Layers
In multilayer designs, you can change the layer in which you're routing the trace using one of these two options:
While in routing mode, right-click and select the target layer. Flux will automatically place a via
Use the
Vkey
For more advanced multilayer features, please refer to this tutorial.
Modifying Existing Traces
Moving Segments
When clicking and dragging a segment, Flux will automatically adjust adjacent segments to maintain both connection and elbow angles. The default behavior can be modified by:
Pressing Shift will stop Flux from maintaining the elbow angles
Pressing CMD will stop Flux from maintaining connection to adjacent segments
Mid-Trace Routing
To start a new trace from the middle of another trace (or any other place without a routing pad), double-click on the exact location where you want to create the new trace.
Advanced Routing Features
We've covered the basic tracing features. More complex designs will require more advanced routing options.
Dynamic Traces
Dynamic traces in Flux allow for automatic adjustment of trace widths in response to varying design constraints. This feature is particularly useful for handling high-power applications, fitting traces within tight spaces like BGAs, and ensuring optimal current-carrying capacity without manually reconfiguring each segment.
For a comprehensive guide on using dynamic traces, please refer to this full tutorial.
Dynamic Traces can be enabled or disabled on each net by assigning a "Dynamic Trace Width" rule. To enable or disable dynamic tracing for a target net:
Select the target net (nested under Root → Layout → Nets in the Objects panel)
Add a "Dynamic Trace Width" rule from the "object-specific rules" menu on the right.
Select the target width among the dropdown choices, or enter your own.
High-Speed / Impedance-Controlled Routing
High-speed routing is essential for maintaining signal integrity in high-frequency applications, such as USB or high-speed communication lines. Flux's implementation of impedance-controlled routing stands out from other tools.
Flux automatically configures the appropriate trace width and differential pairs for components that require them. Simply create the trace as usual, and Flux will handle the configuration. For a detailed guide on implementing high-speed routing techniques, please refer to this tutorial.
What's Next
Now that you've learned the basics of PCB routing in Flux, you might want to explore:
Advanced Routing Techniques - Learn more complex routing strategies
Layout Rules Deep Dive - Understand how to use rules to control your PCB design
Routing Across Multiple Layers - Master multilayer PCB design