PCB manufacturers need a specific set of files to prepare your design for fabrication and assembly. These files are used to create instructions for modern equipment and tooling required for PCB manufacturing.
Design for Manufacturing (DFM)
Design for Manufacturing (DFM) is the set of guidelines, principles, and capabilities for designing PCBs in a way that optimizes ease of manufacturability. The main goal of DFM for PCBs is to ensure that the design of the circuit board allows for a smooth manufacturing process. Flux offers you a variety of tools enabling design for manufacturing (DFM) discussed below:
DFM-Related Layout Rules (discussed in Part 3)
- Trace widths and spacing
- Hole sizes and placements
- Component placement and associated keep-outs
- Layer stackup
DFM-Related Exporting Tools (discussed below)
- Gerber export
- Bill of material export
Working with Gerber Files
Gerber files are what you need to send to PCB manufacturers for them to fully build your PCB. They can be exported like such:
- Flux logo (top left) > Export > Gerber RS-274X2

This will then generate a .zip file containing gerber files for the top and bottom layers:
- Copper
- Soldermask
- Silkscreen
- Solderpaste
- In addition to copper data for any inner layers.
If you want to learn more about the different files and how they relate to the PCB manufacturing, take a look at this tutorial.
How to Validate Gerber Files
Once you've exported your gerber files, it is best practice to inspect each layer before sending off for manufacturing.
We recommend using an online checker such as tracespace.io.
After opening the website you'll be greeted by an option to upload your gerber and drill files.
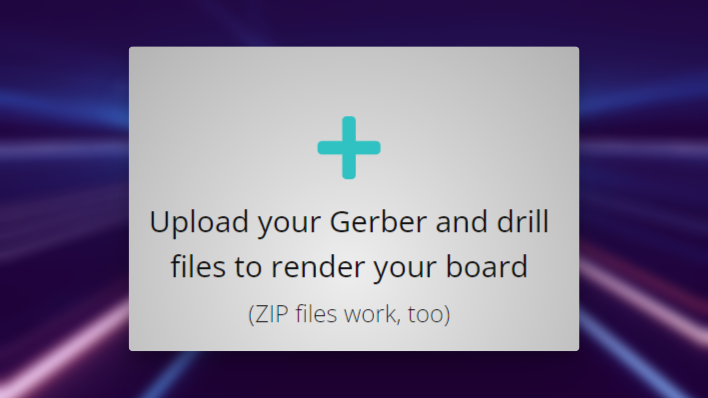
We recommend uploading the full .zip as you'll be able to inspect each layer individually through the UI.
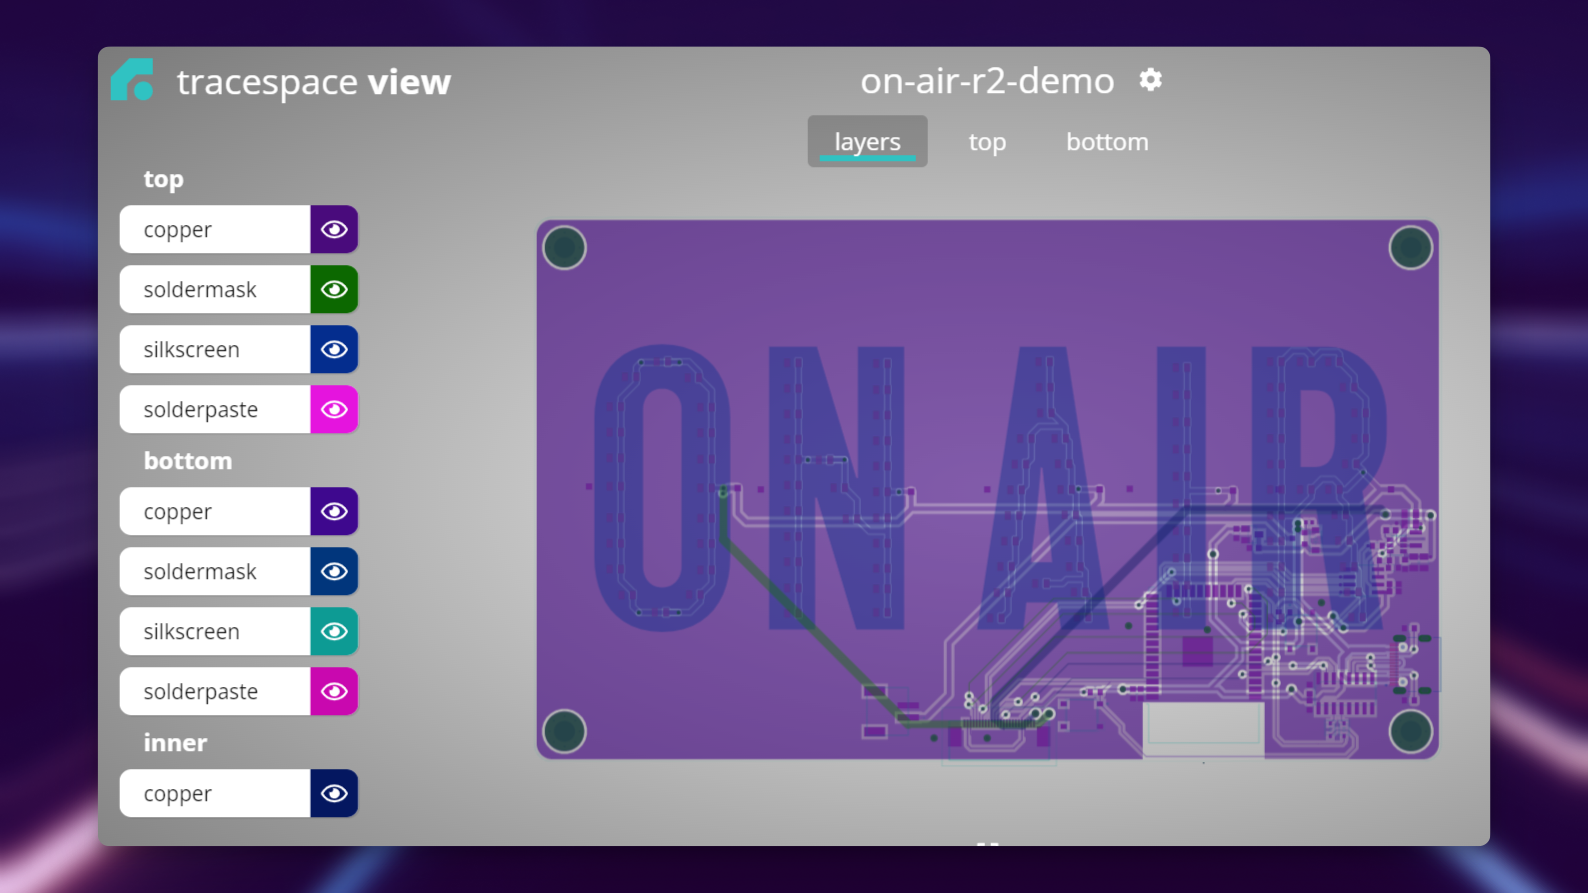
Inspecting Gerber Layers
It's important to individually check every layer that your board appears as designed.
Checklist
- Layer verification: Ensure all layers are included (top and bottom copper, silkscreen, and solder mask + internal layers)
- Board outline: Check the shape and dimensions
- Drill files: Check locations, and dimensions
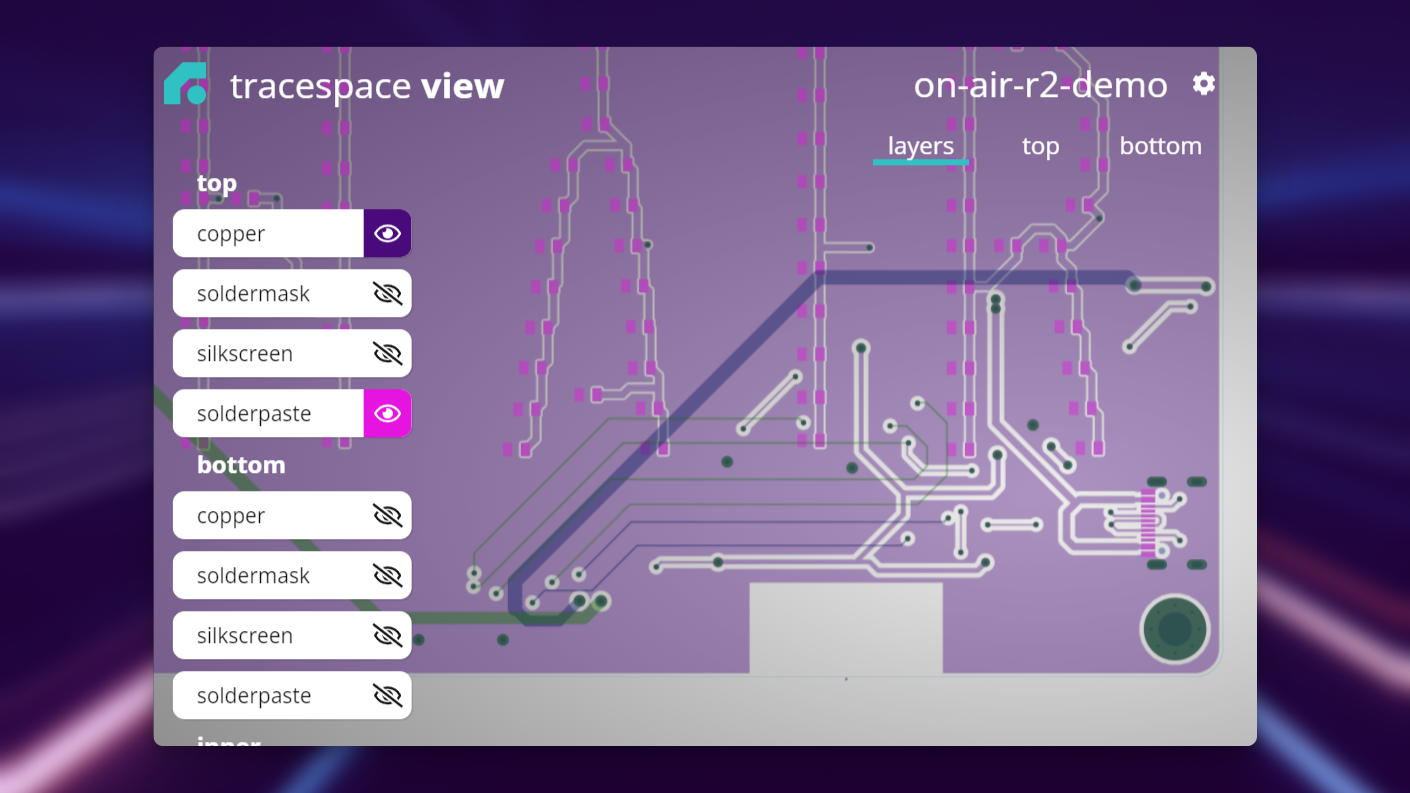
- Copper Layers: Check for gaps, trace wdiths, and spacing between traces
- Solder mask: Ensure correct clearance and that all pads are exposed
- Silkscreen: Check for readability and that there is no silkscreen on pads
- Pad and Vias: Verify sizes and shapes, especially for SMD components such as ICs
- File Naming: tracespace will automatically assign each file to its respective top/bottom/internal copper/ silkscreen/solderpaste/soldermask. Check that when you select one in the viewer the associated layer is highlighted.
Working with the Bill of Materials (BoM)
The Bill of Materials (BOM) in is a detailed list that contains the components, component-details, and quantities needed to assemble the PCB.
There are cases when you'd like your manufacturer to assemble the PCB such as in high-quantity runs or simply require a machine to assemble it for you. In these cases, you must have a high-quality BoM generated and send to your manufacturer.
Component details include:
- Component value
- Part type
- Package
- Values
- Manufacturer Part Number
- Manufacturer Name
Having a PCB software that allows for detailed and reliable BOM generation is necessary for reliable assembly down the line, ensuring the board can be constructed as intended.
How to Export a BoM in Flux
Exporting a BoM in flux is simple:
- Flux logo in the top left of the project > Export > BoM
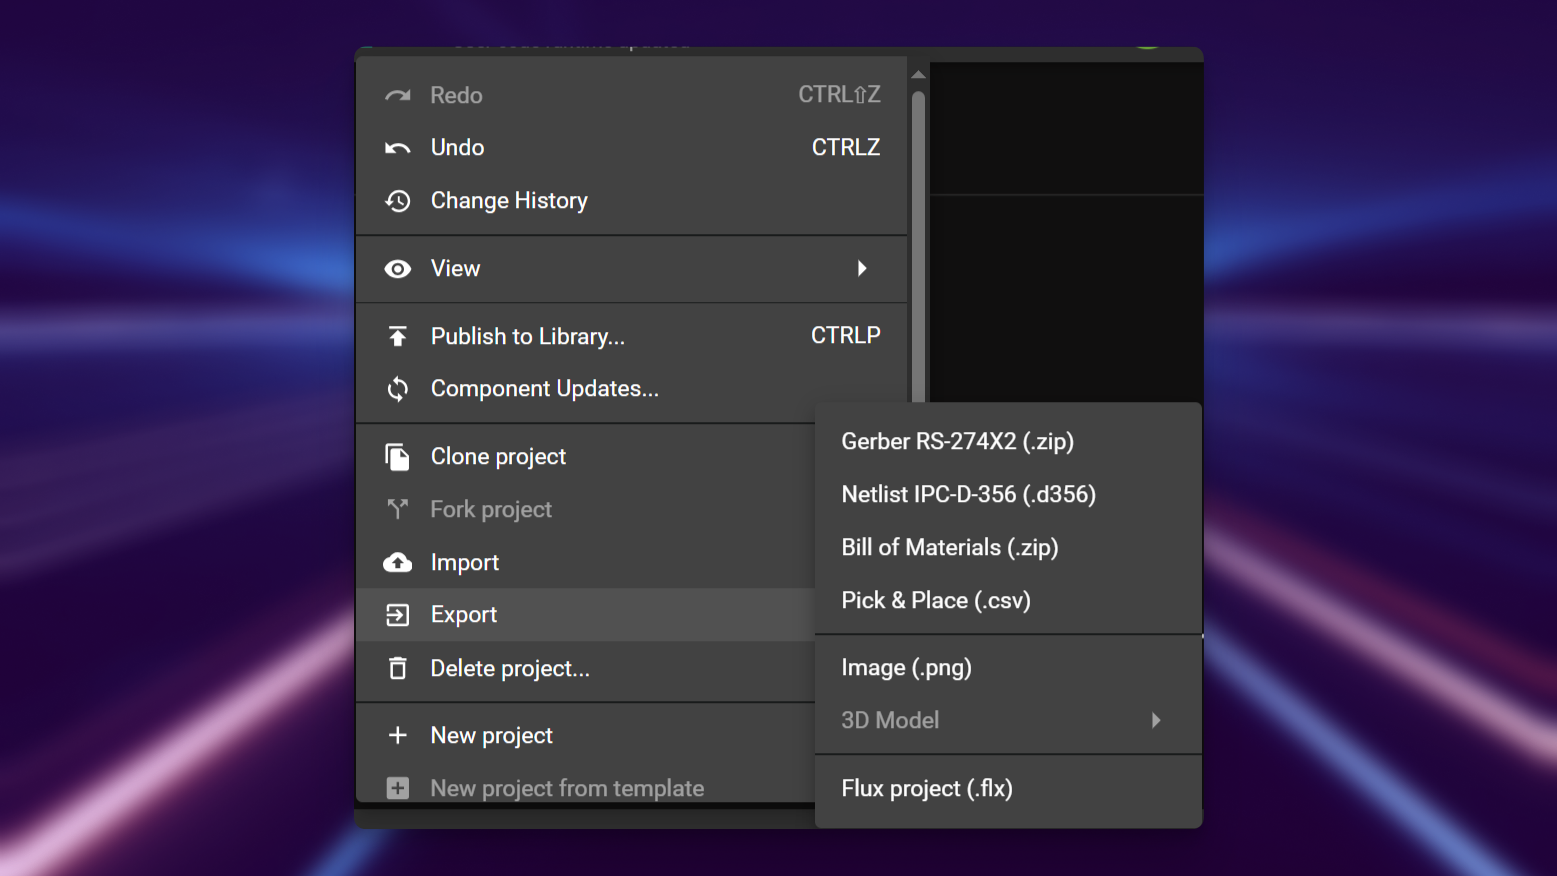
Flux will then generate multiple .csv files necessary depending on the manufacturer.
Different Manufacturers Require Different Formats
When submitting a BoM to a manufacturer, it's important to note that different manufacturers expect different formats. For this reason, Flux exports multiple different spreadsheet (file extension .csv) for each manufacturer it supports.
Validate All Parts Have an MPN
An MPN, or Manufacturer Part Number, is a unique identifier assigned by the manufacturer to a specific component. This identifier helps to distinguish components, such as one 10uF cap from another, (as they may have different breakdown voltages or other characteristics).
In any case, ensuring the MPN of each component you require in the BoM is mandatory.
Additional Manufacturing Files
In addition to Gerber files and the BOM, you may need to export other files for manufacturing:
Pick and Place Files
These files contain the X-Y coordinates and rotation information for each component, which is essential for automated assembly. Flux generates these files automatically when you export manufacturing files.
NC Drill Files
These files contain information about the location, size, and type of all holes in the PCB. They are used by CNC drilling machines during the manufacturing process.
Assembly Drawings
While not always required, assembly drawings can help manufacturers understand component placement and orientation, especially for complex boards.
Troubleshooting Common Export Issues
Gerber Export Problems
- Missing layers: Ensure your stackup is properly configured before export
- Incorrect board outline: Verify that your board outline is a closed shape without gaps
- Drill file issues: Check that all holes have appropriate sizes for your manufacturer's capabilities
BOM Export Challenges
- Missing MPNs: Review your components and ensure all have valid manufacturer part numbers
- Duplicate designators: Check for components with the same reference designator, which can cause confusion
- Inconsistent values: Ensure component values are consistent and follow standard notation
Manufacturing Validation
- Gerber viewer errors: If tracespace.io shows issues, verify your design in Flux before re-exporting
- Layer alignment problems: Check that all layers align properly in the Gerber viewer
- Clearance violations: Address any DRC errors before exporting manufacturing files
What's Next
Now that you've completed the PCB design process from setup to manufacturing preparation, you might want to explore:
- Design Rule Checks - Learn more about ensuring your design meets manufacturing requirements
- Component Procurement - Understand how to source components for your design
- Reusing Projects - Discover how to leverage your work in future designs
- Version Control - Master Flux's version control system for tracking design changes
- Collaboration Deep Dive - Learn advanced techniques for team-based design