Moving and rotating
Ask Flux to move, rotate, and arrange parts on the schematic.
To do it in the UI:
To move a part, left-click on it and drag it to the desired position. For rotating a part, there are two options:
Right-click on the part you want to rotate and select "Rotate right" or "Rotate left."
To rotate parts quickly, use the open or close square brackets
[ ]

Wiring
Ask Flux to connect parts.
To do it in the UI:
To connect parts, hover over a part to reveal its terminals, then click on the white dots to begin routing mode. You don't need any tools. simply click where on the white dot to start wiring. To complete the connection, click on the terminal of the other element.
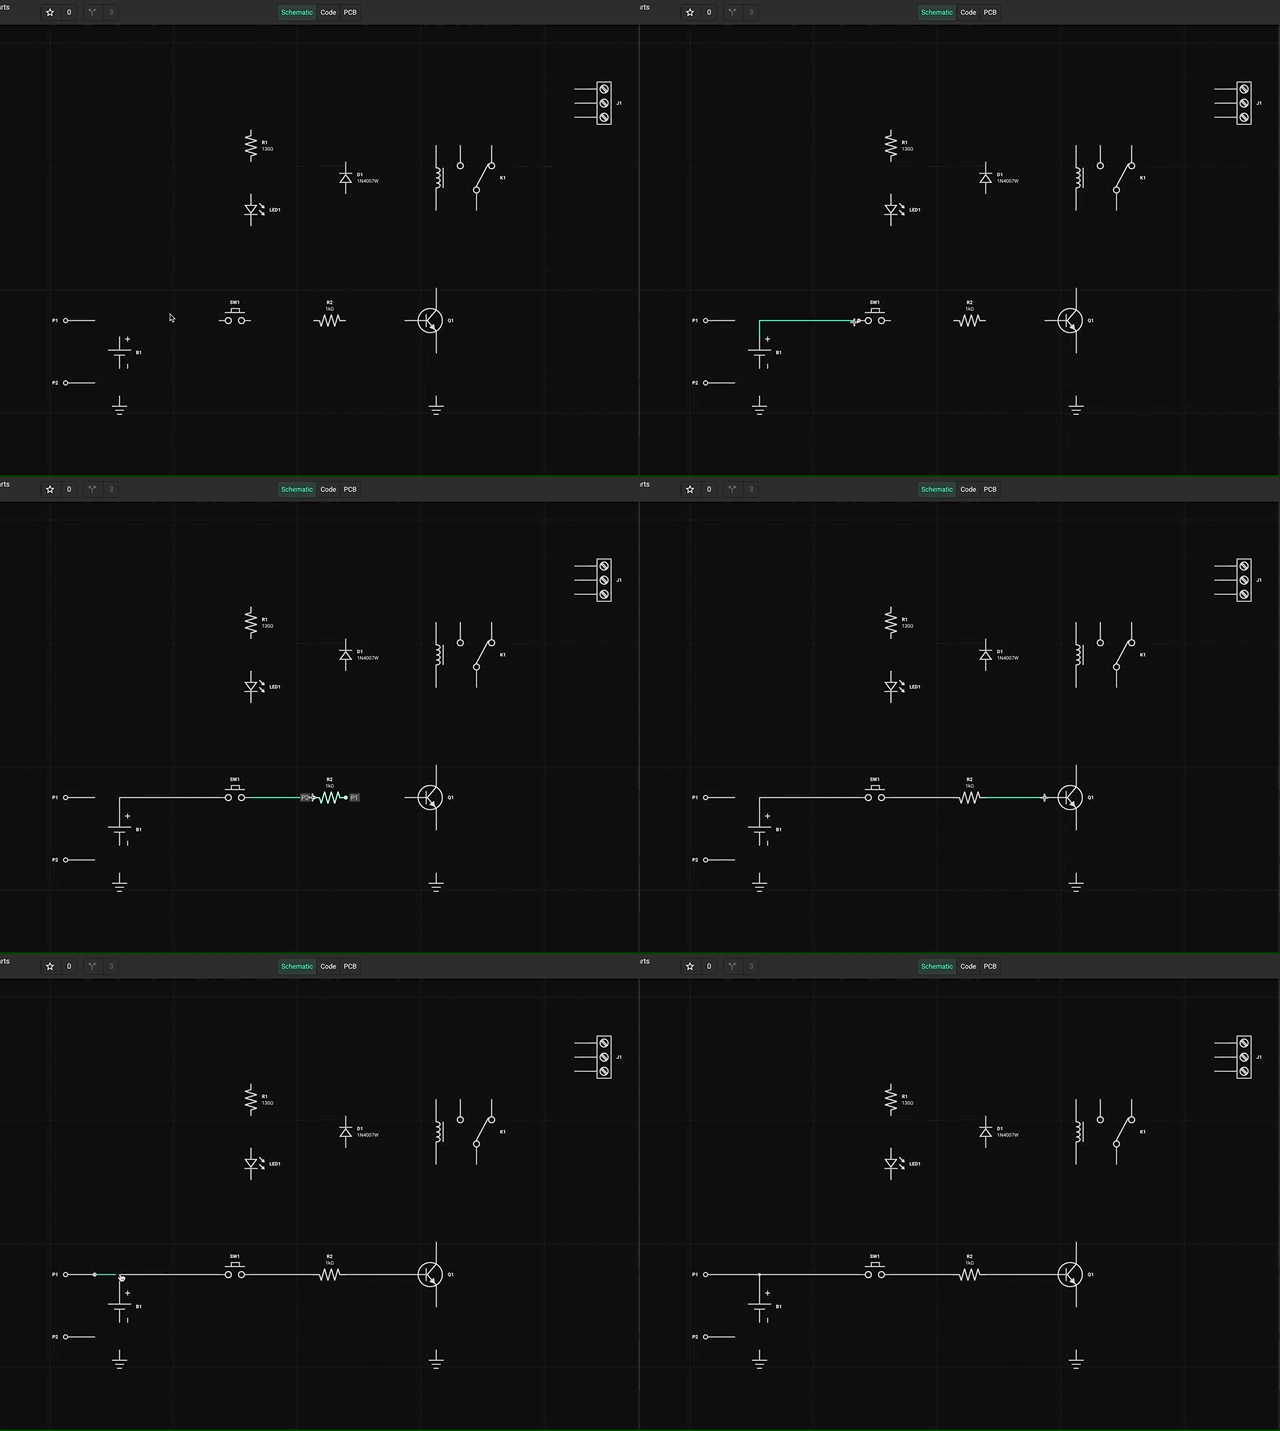
While in wiring mode, you can also change the wire angle (elbow) direction of the route by pressing the “f” key. To cancel the routing mode, press the escape key.
To connect pins without wires, use net labels and power symbols. See Connect nets without wires.
Connect nets without wires
Use project nets, net labels, and power symbols to connect pins without drawing a wire between each pin. Net labels and power symbols take the place of the retired Portal parts.
Select a wire or pin and set its net name in the Inspector. Place a net label to show the same project net at different points, or place a power symbol for a named supply net. See Nets and traces for project nets.
Ground and the GND net
Ask Flux to connect the ground pins of electrical parts to the GND net. Ground symbols put their pins on the GND net. The Ground part category remains available.
Place a ground symbol at each ground connection. Flux assigns those pins to the GND net.