
Build and check the circuit of your device together with Flux, in real time.
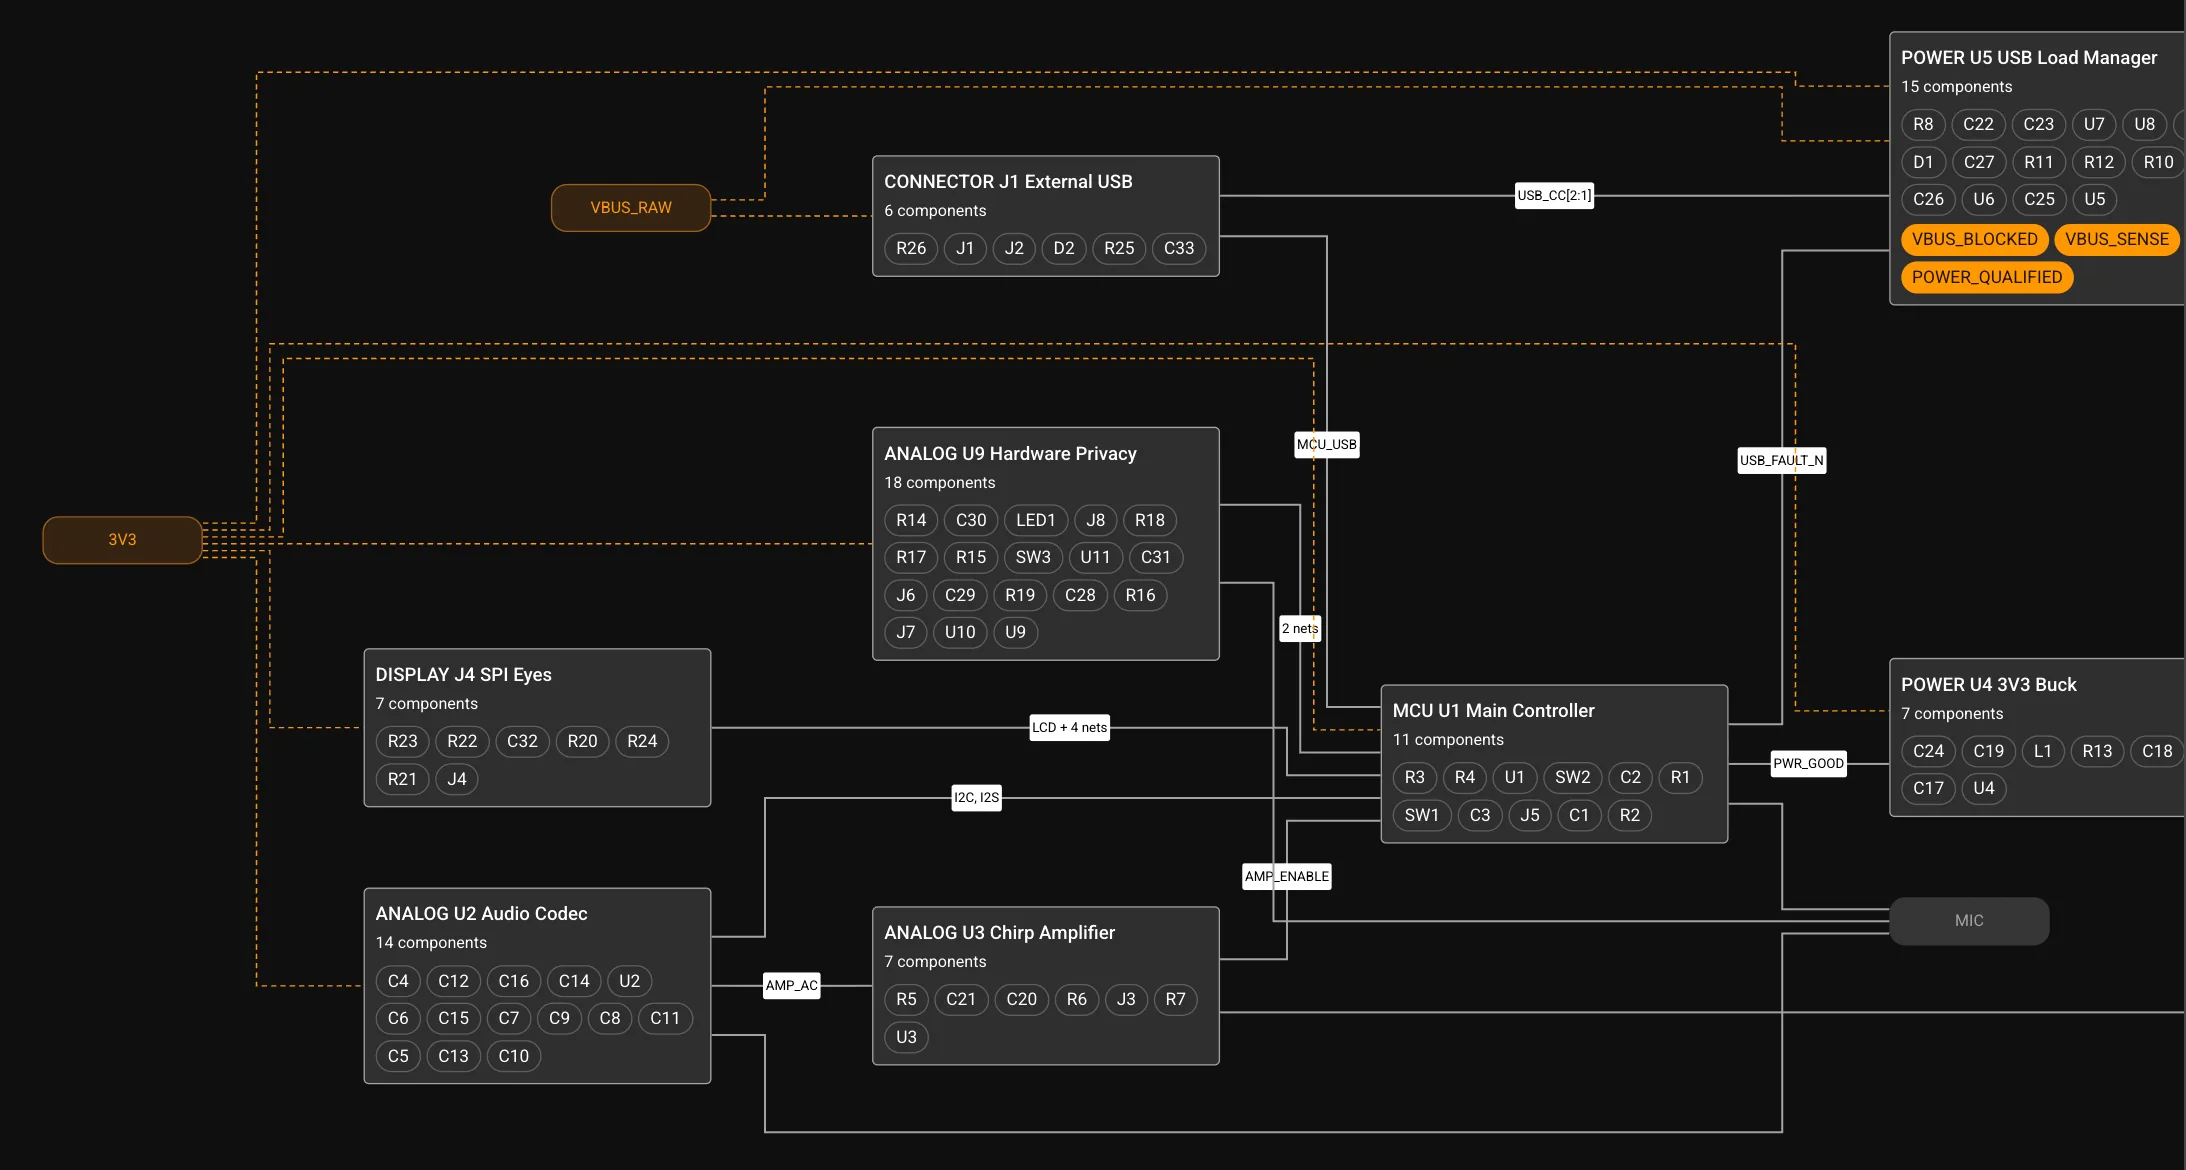
In the Flux schematic editor, you and Flux design electronic circuits. The schematic is one part of a Flux project, together with the PCB layout, the mechanical parts, and the firmware. This reference guide explains the key components of the schematic editor interface and how to use them.
Use the Nets, Components, BOM, Pins, and Knowledge tables to review and edit structured project information.
The schematic editor is where you build and simulate circuit schematics. Unique to Flux, everything you do here is synced in real-time to the cloud, which brings a number of benefits.
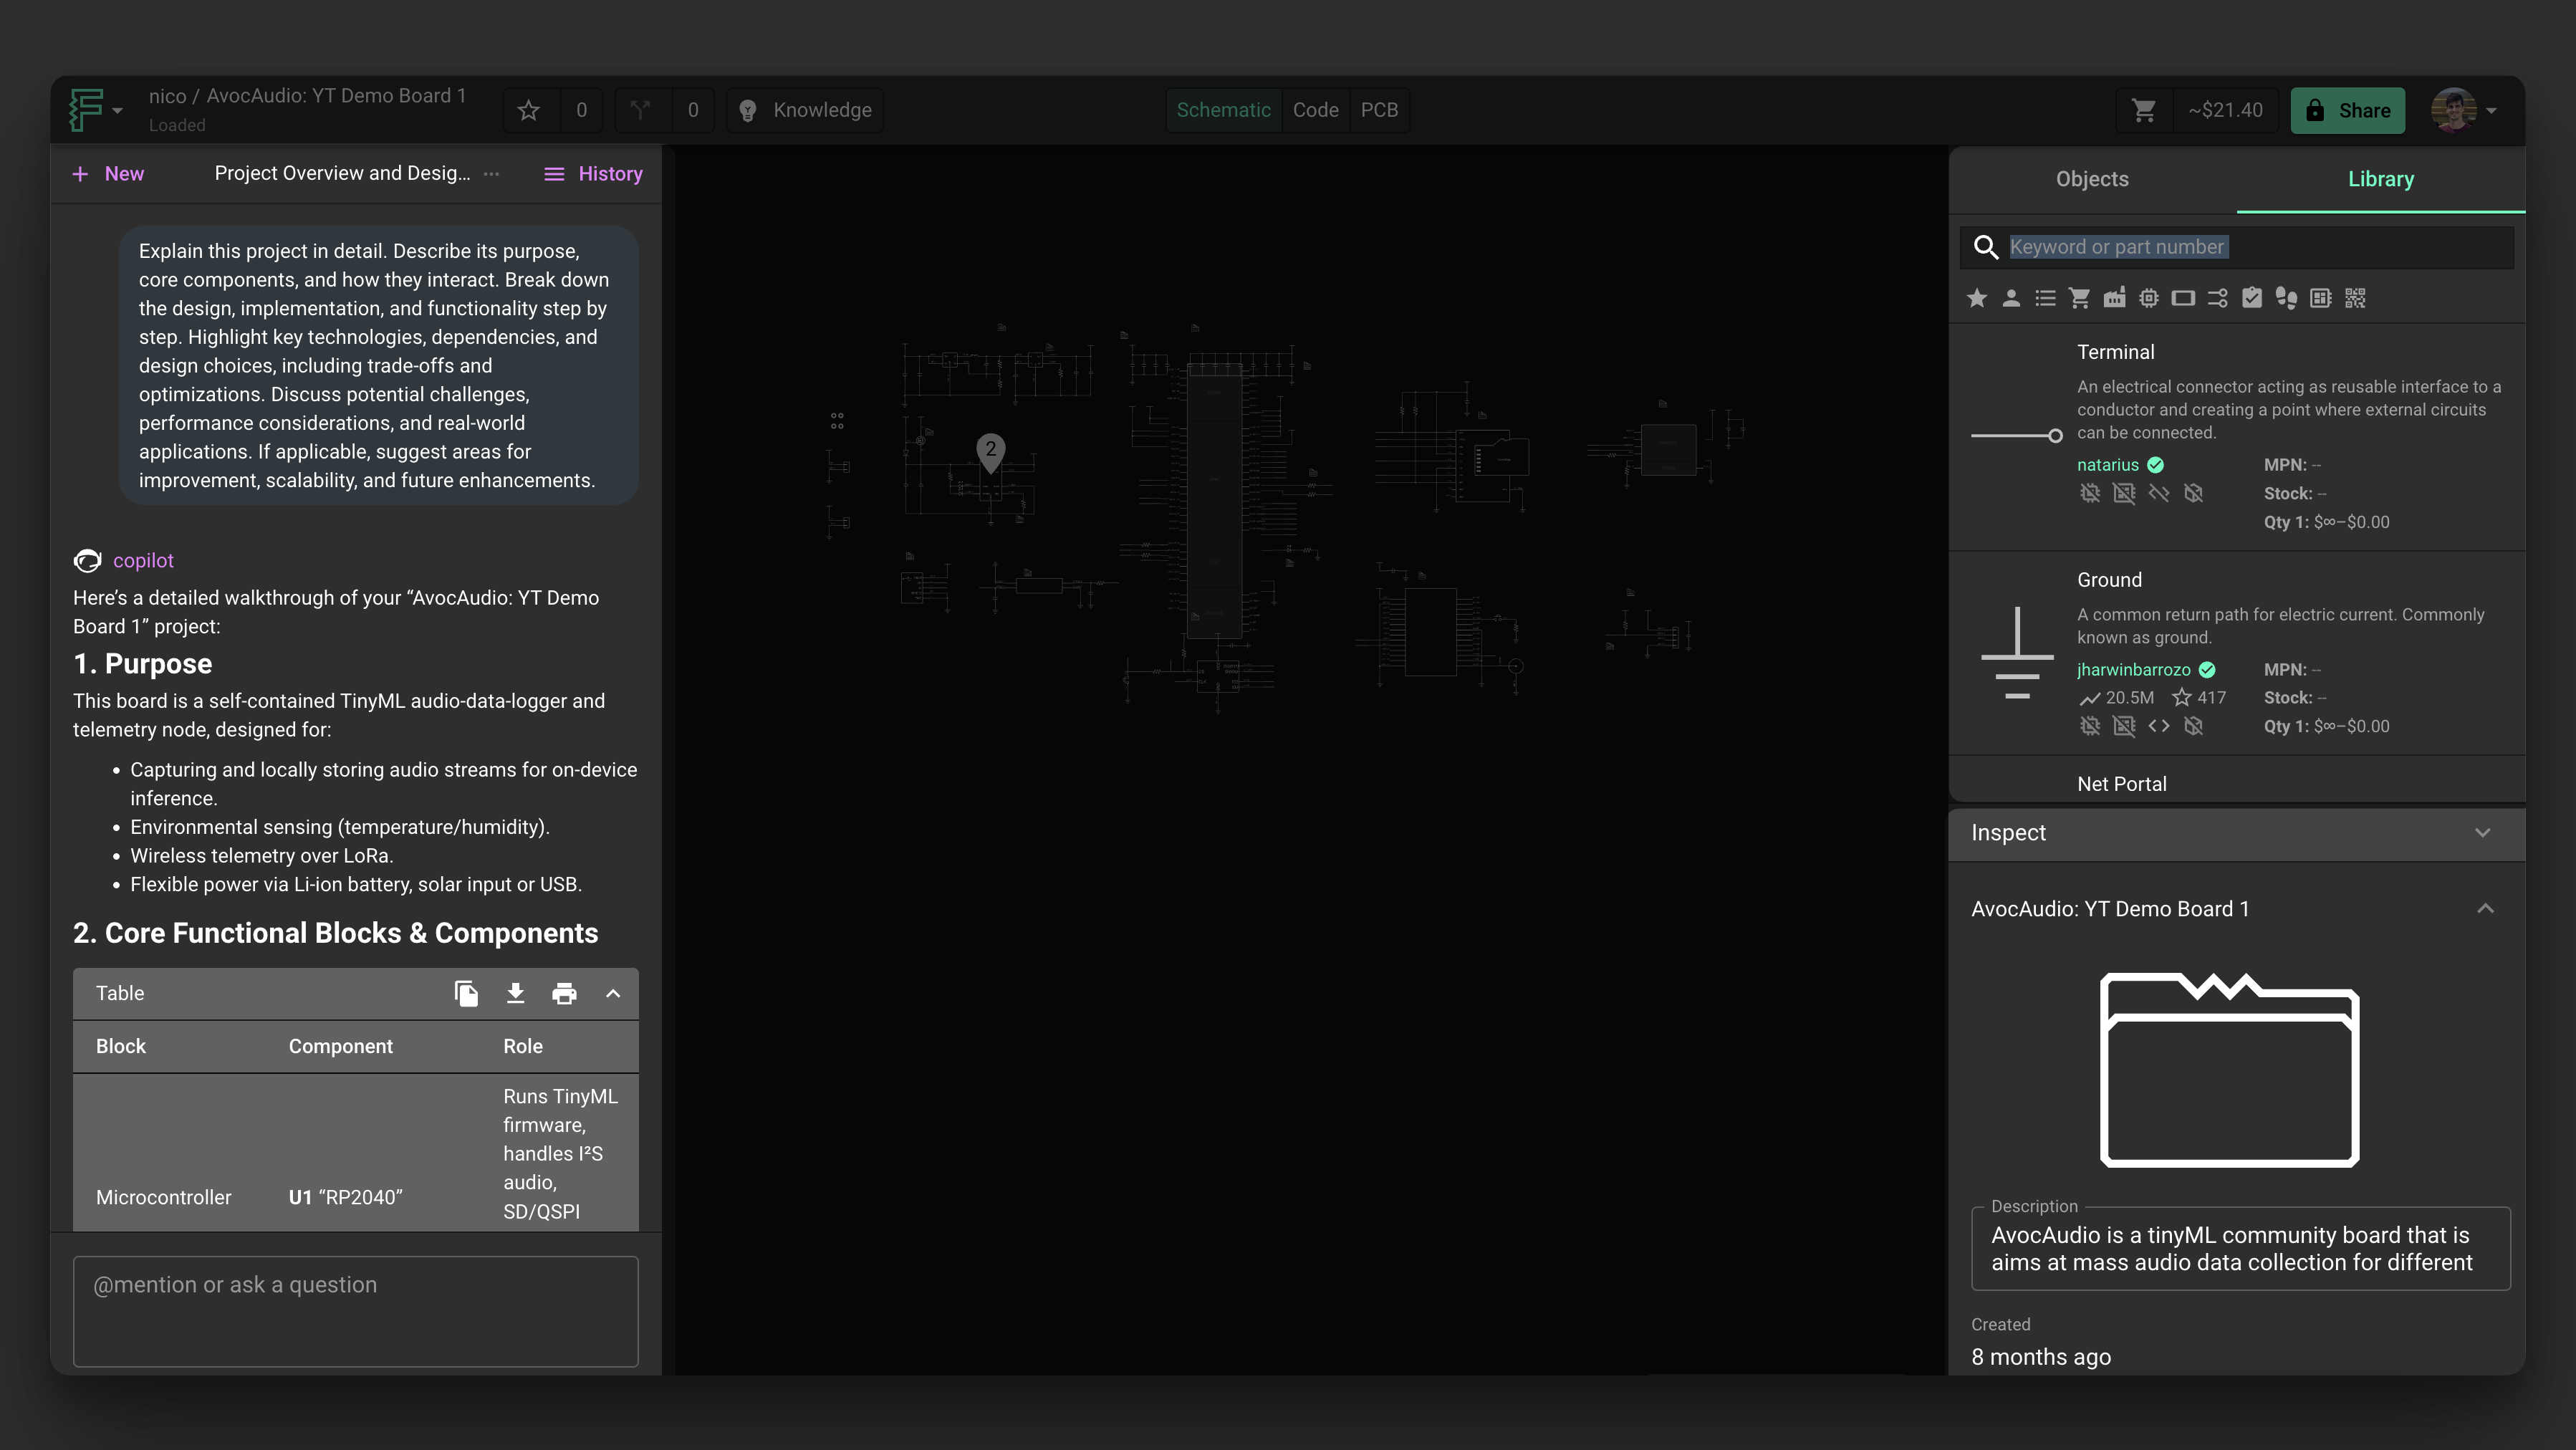
Key Components
Flux Menu
The Flux menu in the top-left corner has project commands, such as Undo, Redo, Change History, Fork Project, Clone Project, and Export.
Library
The Part Library is the main place where you'll find parts to drag into your schematic. It serves as a public library for community-created parts and your own personal library.
Object Tree
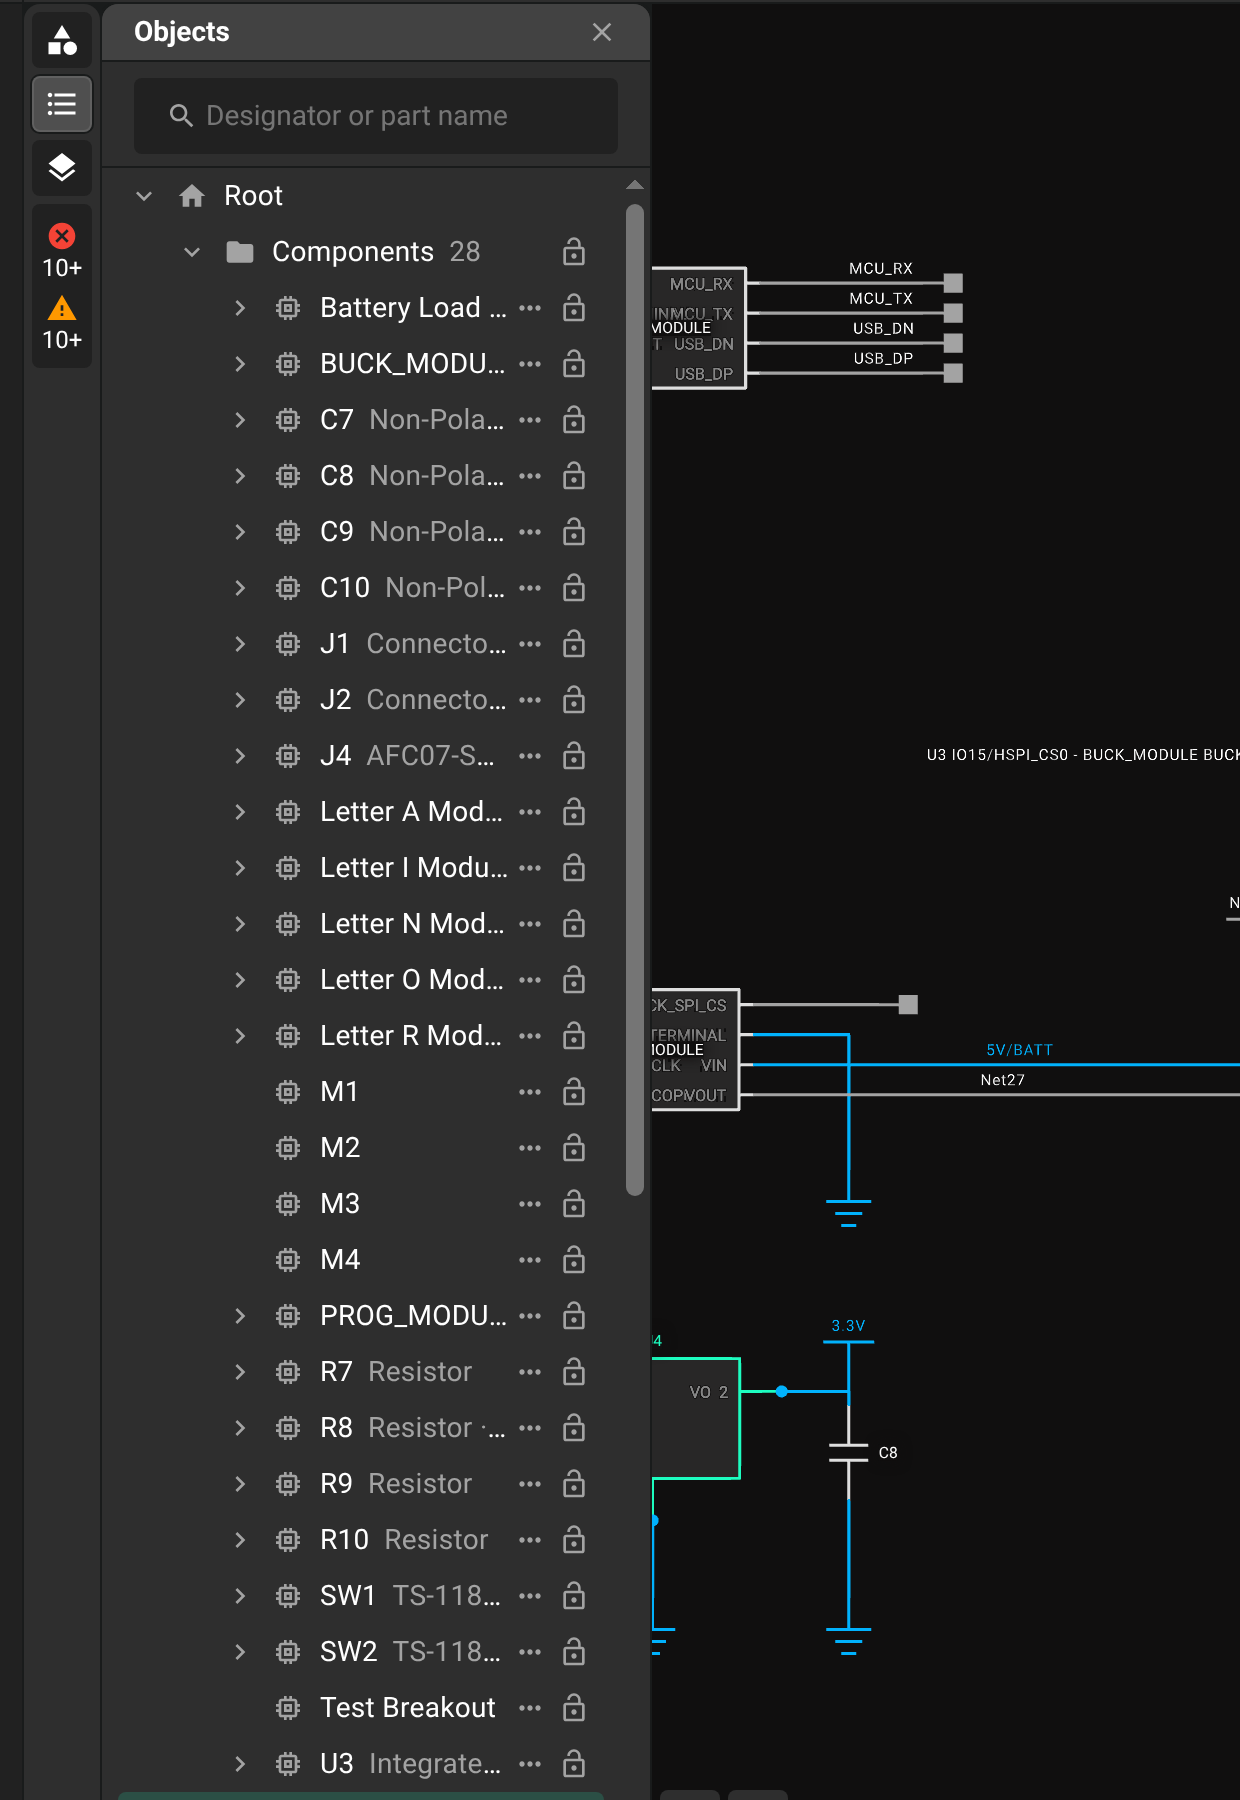
The Object Tree in the left panel lists all the components and nets in your project. Use it to view and select objects on the schematic. Click an object name to select it.
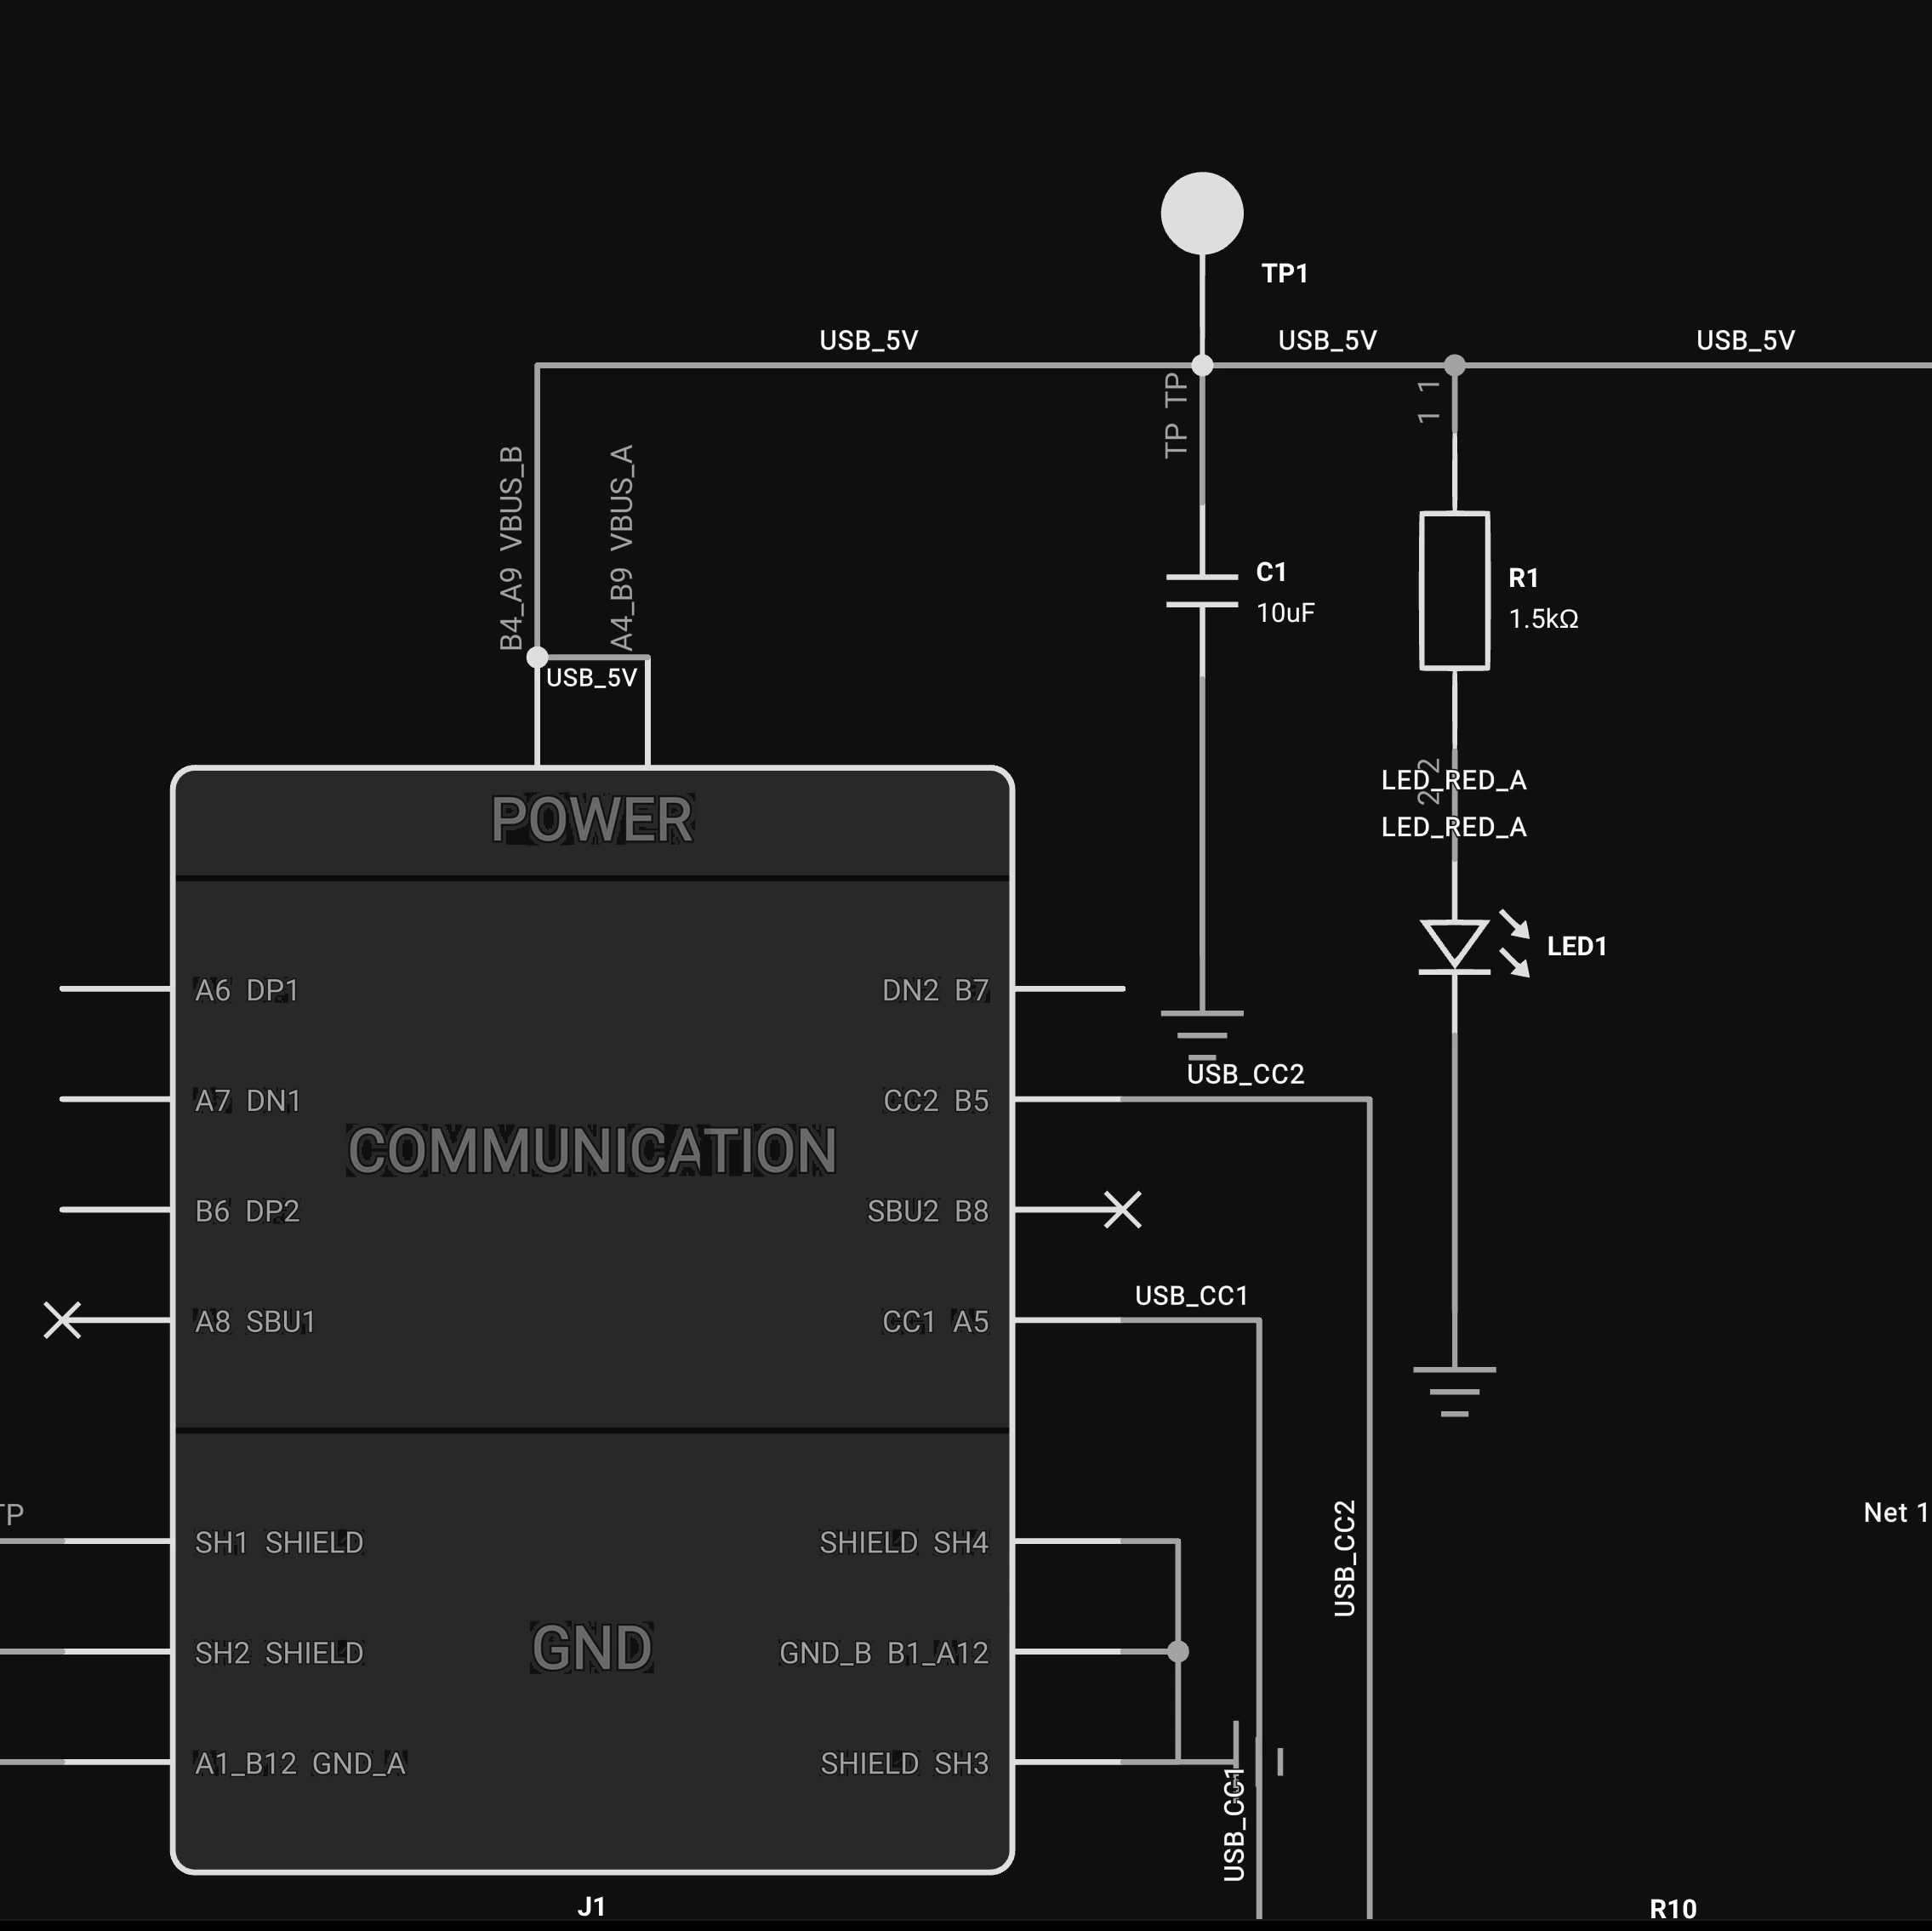
The Canvas
The Canvas is where you'll create your schematic diagram. This is the main workspace where you place components and create connections between them.
Ask Flux to arrange the schematic
Ask Flux to arrange the schematic into functional groups and make the signal flow clear.
Tell Flux how to group the circuit and which direction the signal should flow. Flux arranges the schematic around those requirements.
The Inspector
The Inspector panel on the right side shows contextual information about the selected object. When nothing is selected, the inspector shows document-level information like the description, and other properties. When a part is selected, it shows contextual information about it.
The Inspector includes several important sections:
Properties: carry additional part metadata like Manufacturer part number, value, etc.
Pricing and Availability: Flux automatically searches for pricing and availability in parts with a MPN.
Schematic Grid
Components snap relative to each other for placement. Drag a component near another to display alignment guides.
The Share Menu
You can access the Share Menu using the "share" button in the navigation bar. Every project is private by default, and can only be shared using this menu.