
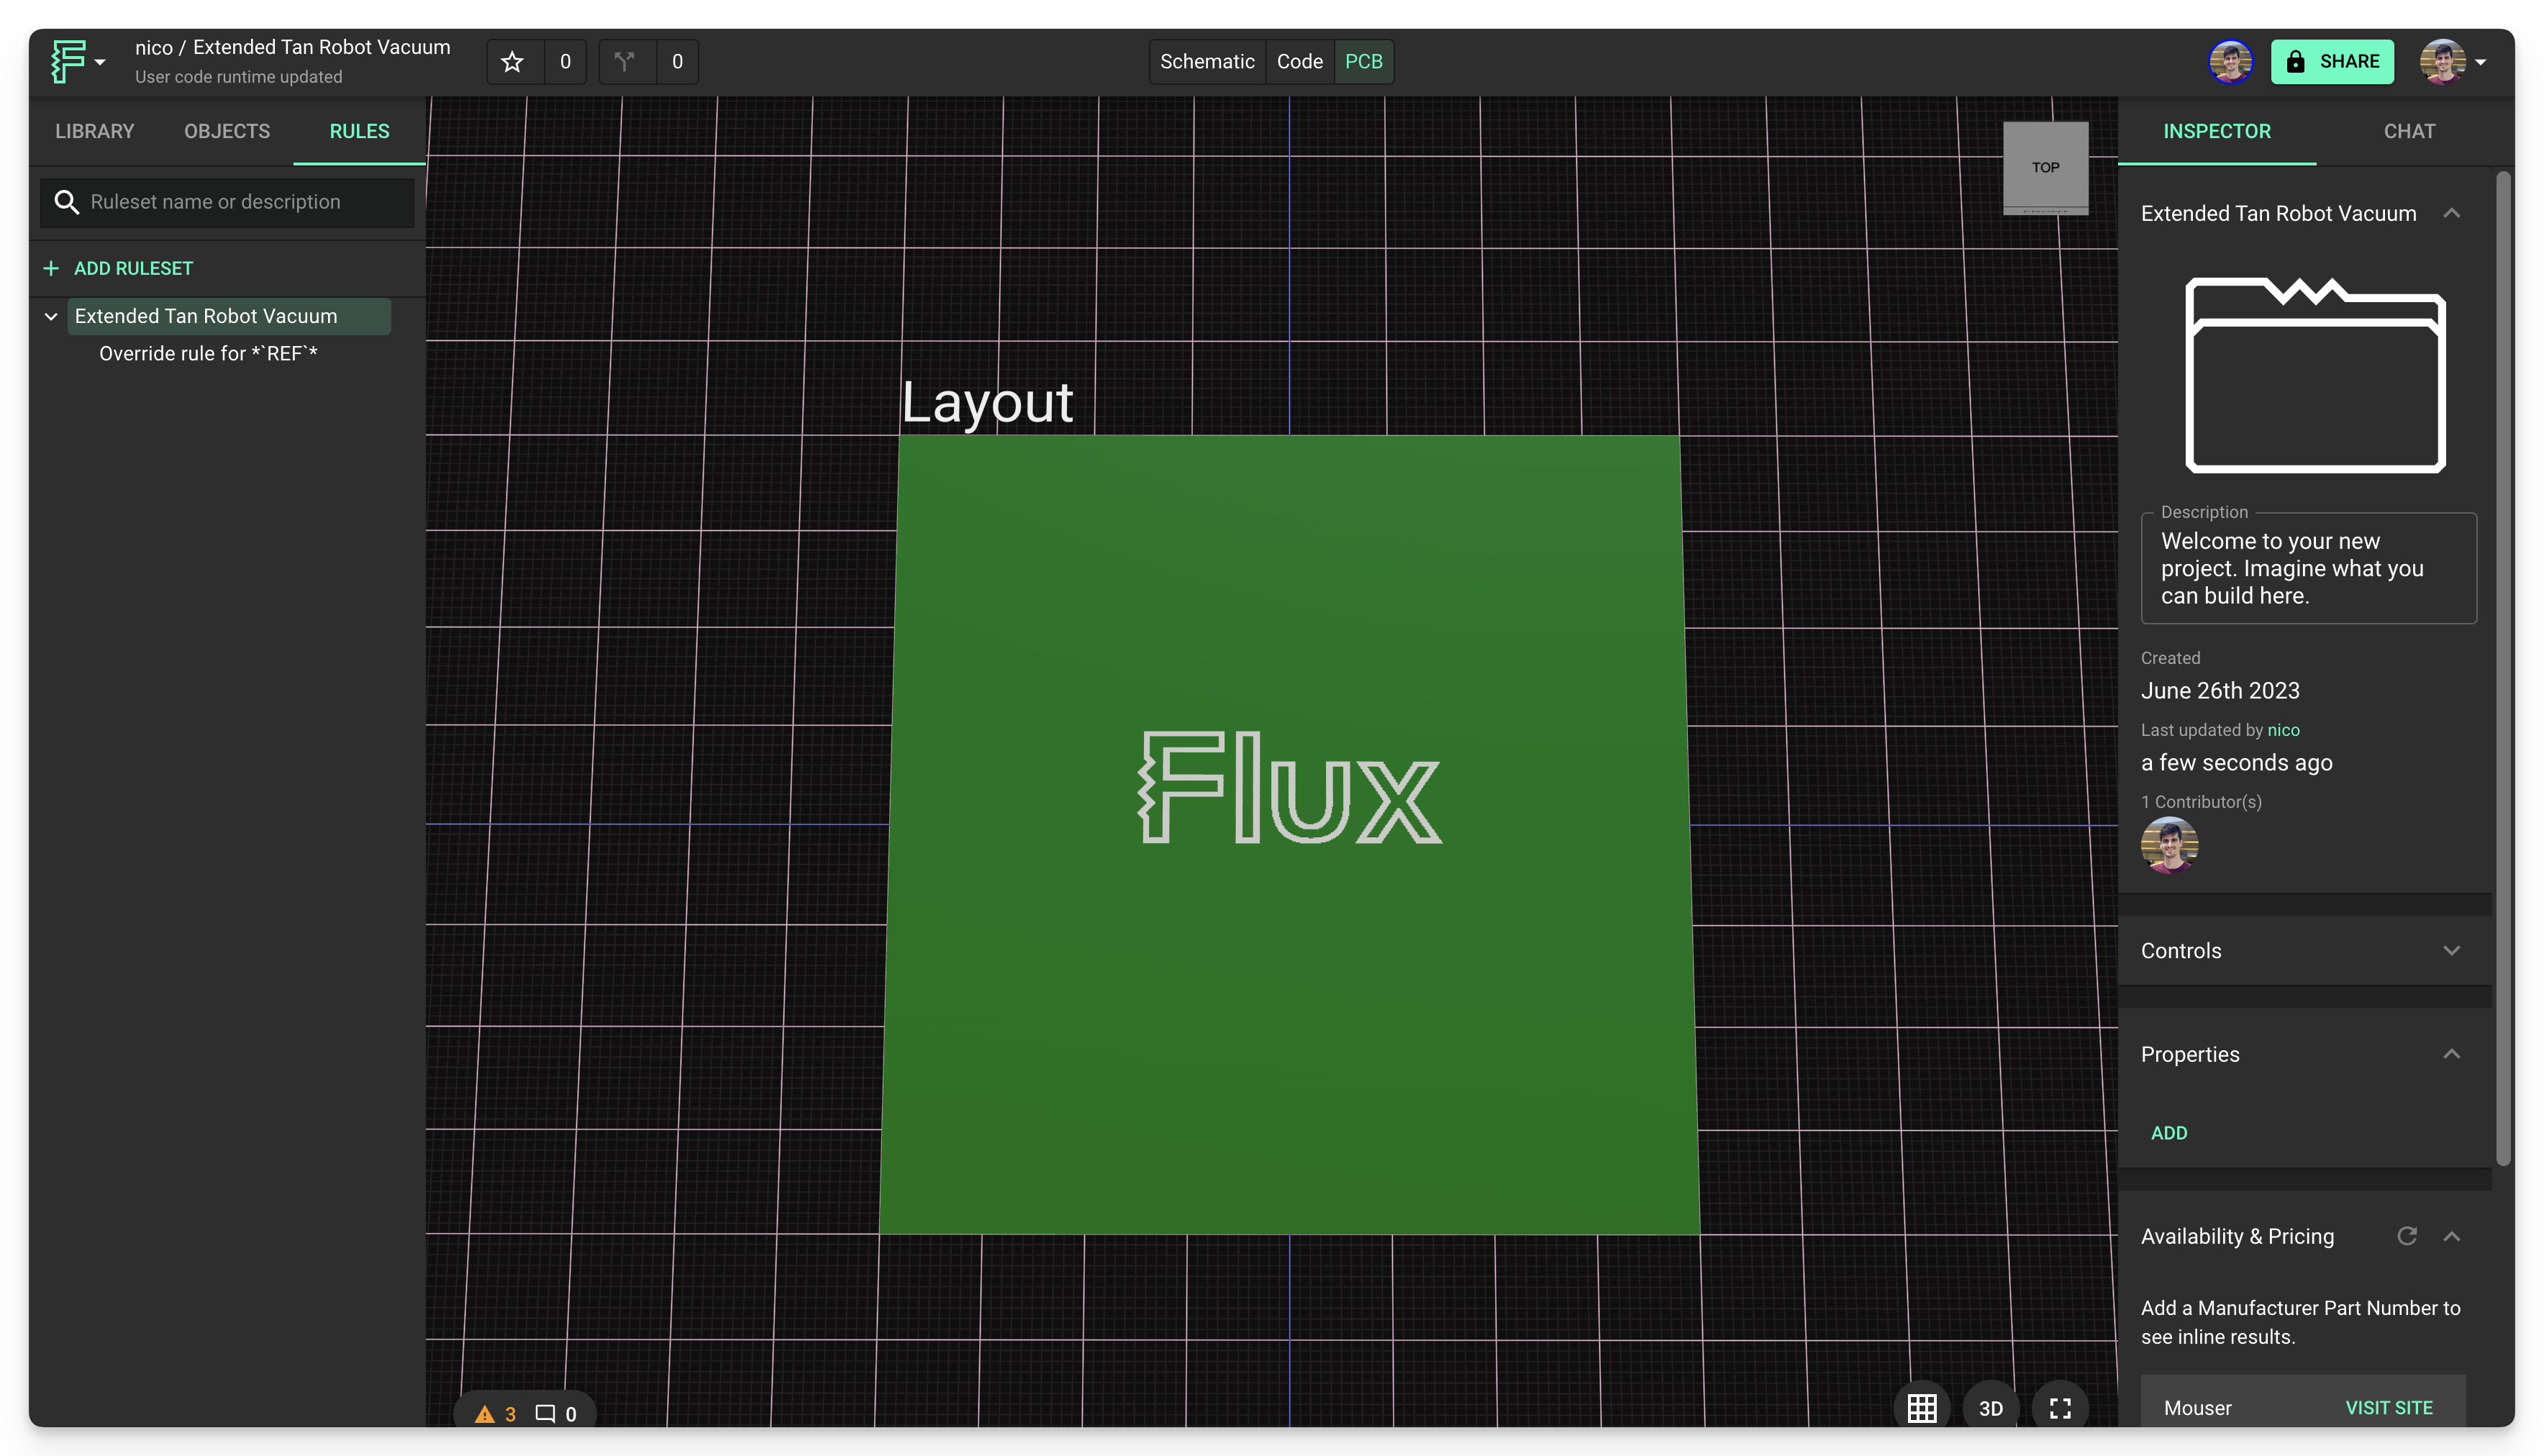
Make your board easy to assemble, test, and recognize, with labels, marks, and your logo on the board.
Silkscreen is a layer of ink on the PCB. Use it to identify components, test points, parts of the PCB, warning symbols, logos, and marks.
Overview
This page covers:
Adding silkscreen elements
Text
Silk Line
Silk Circle
Silk Rectangle
Modifying existing silkscreen
Creating custom silkscreen
Adding Silkscreen
Ask Flux to add silkscreen text, lines, circles, and rectangles.
To do it in the UI:
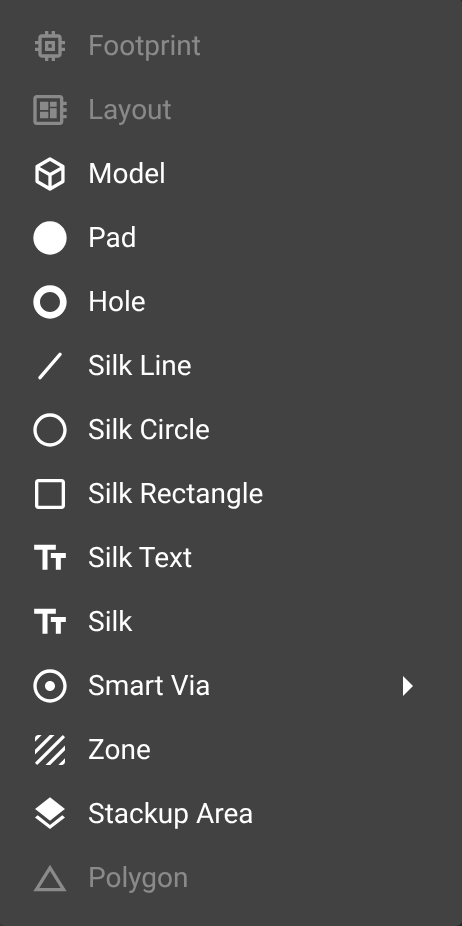
Silkscreen objects are ink traces used to identify test points, components, warning symbols, or any additional desired graphical element on your PCB
To add a silkscreen element:
Left-click on the Layout object in the objects tree to ensure it's selected
Right-click > Add > Silk Line / Silk Circle / Silk Rectangle
A silk text is a particular kind of silkscreen that lets you add text to your PCB.
A silk line is a line that stretches between two specified points. You can use a line path rule for any desired curves.
A silk circle is a circle with a specified origin and diameter.
A silk rectangle stretches between two specified points.
Change the stroke length, spacing, style, and width of these three silk elements with the stroke rules in the Layout Rules List.
Modifying Existing Silkscreen
The tutorial below covers how to customize or modify existing silkscreen elements of components in Flux. For example, repositioning or hiding silkscreen content of a component that you've imported from the library or another tool.
Moving and Hiding Silkscreen
Ask Flux to move or hide the silkscreen of a component.
To do it in the UI:
Example 1: Hiding the silkscreen element of capacitor.
First select the individual silkscreen element that you'd like to modify. Hovering over the component and left-clicking selects all of it. Instead, double-click to select the individual element within the component, or find it in the object tree, or hover and press the command key to select the element directly.
Once you've selected the silkscreen element, move it from its default position. In doing so, Flux will automatically generate a new
positionselector-rule with an!importantflag. The only way to modify individual elements (silkscreen content, pad, etc.) within a component is by using the!importantflag.To hide the element once Flux has auto-generated a
positionrule with!importantflag, add an additionalenablerule and set it tofalse. To force the element to be hidden, add!importantto it as well.
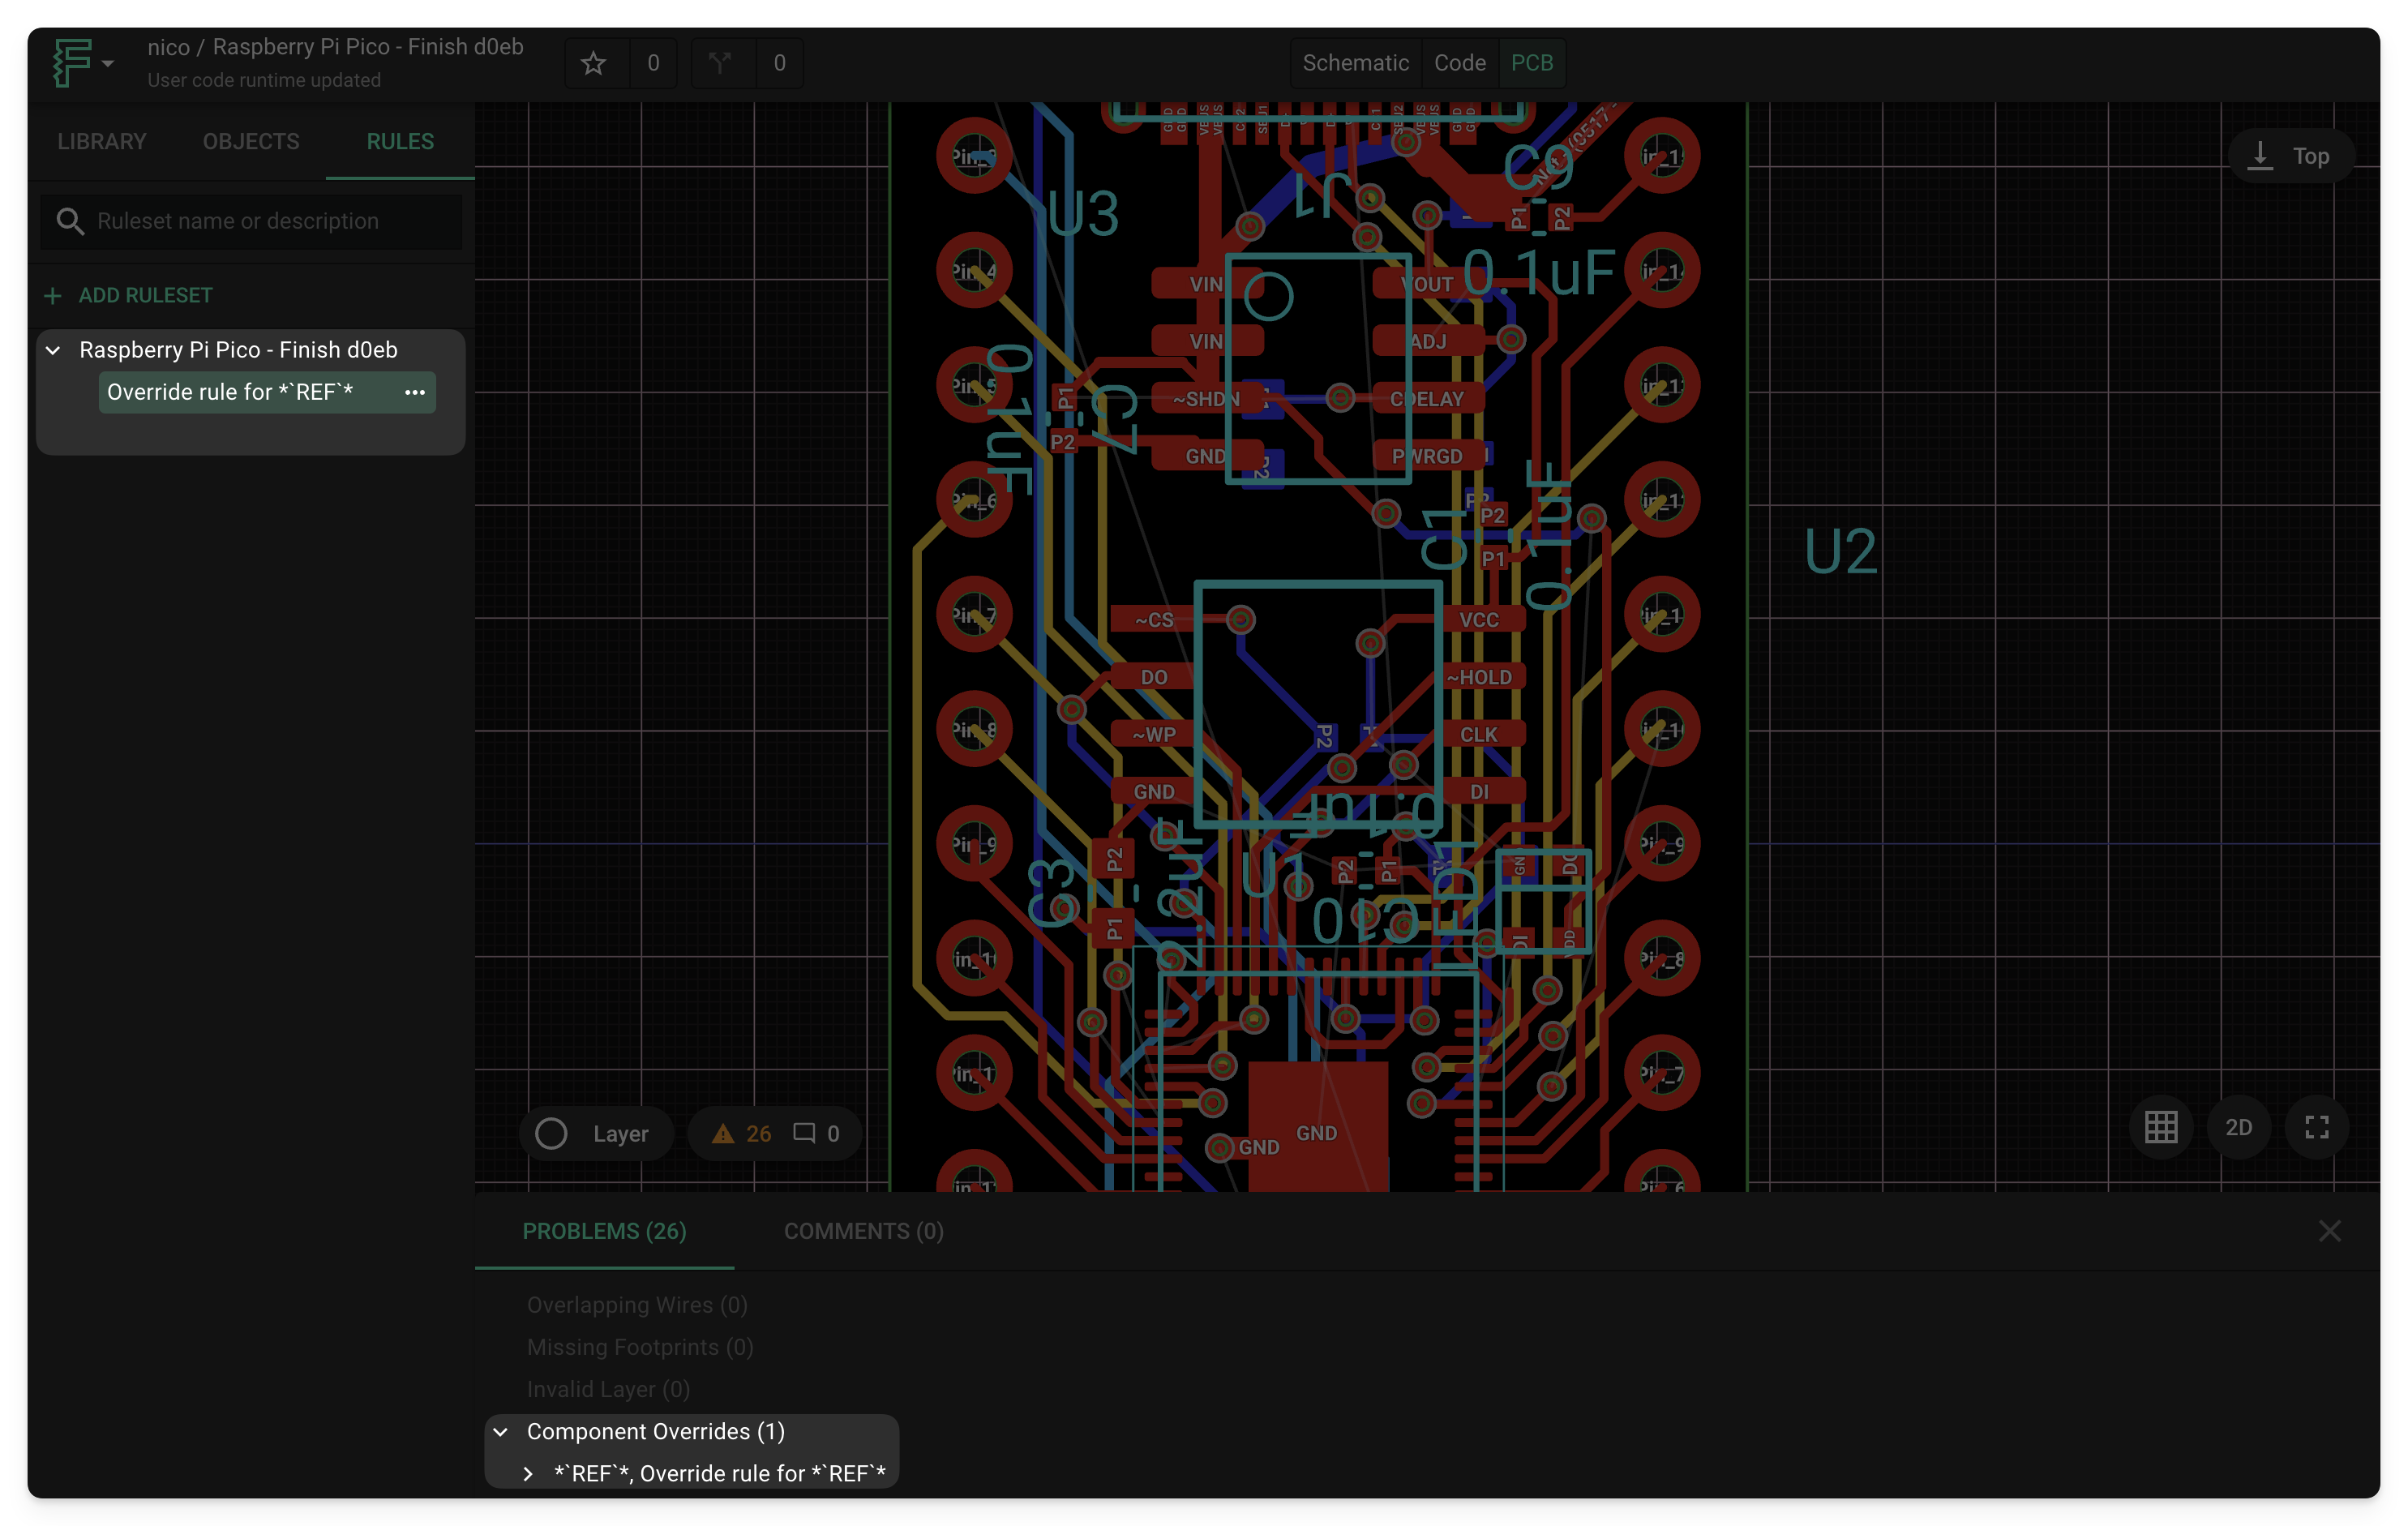
Through this process you can hide any element you desire. The positionrule is then not necessary, so you can delete it. To change only the position of the silkscreen content, and not hide it, skip step 3.
Modifying Silkscreen in Bulk
Ask Flux to change the silkscreen of many components at one time.
To do it in the UI:
Through this process you can modify a group of elements, such as hiding all the silkscreen VALUE elements of all components in a design. Use a selector instead of selecting each element.
First, notice that all elements have the word
VALUEin a designator. Therefore, add a selector-based rule with selector criteria set to[name*="VALUE"]. This selects all the value silkscreen elements in the design allowing you to add an applicable rule to them all.Then, add an
enablerule set tofalseand add the!importantflag. This will hide all the VALUE elements
For a more complex example, consider hiding all VALUE elements of only resistors in the design.
Add a selector-based rule with the following syntax:
*[PartType=Resistor][name*="VALUE"]`` .Then, as above, add an
enablerule set tofalseand add the!importantflag.
Creating Custom Silkscreen
Ask Flux to add a logo or a custom graphic to the silkscreen. Attach the SVG file to your message.
You can also do it in the editor:
In creating a new part, you can add an .svg as a symbol. For example, notice that all parts in the library have an .svg for the symbol. You can also add an .svg file to your project to create custom graphics to your board through a silkscreen.
You can also search the library for premade graphics. For example, find the Flux logo in the library search and drag it onto the board.