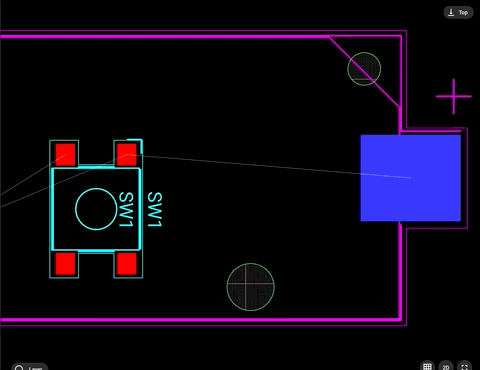
Positioning
To move a component, left-click on it and drag it to the desired position. For rotating a part, there are two options:
- Right-click on the part you want to rotate and select "Rotate right" or "Rotate left."
- To rotate parts quickly, use the open or close square brackets
[ ]

Note: you will see that moving or rotating a component creates an Object-Specific Layout Rules with the desired position or rotation. You can edit the rule directly instead of using the UI elements.
Changing layers
Components can be placed on both sides of the PCB (top or bottom). This is usually more expensive to manufacture, but it helps achieve the most compact design possible. To change a component from the top layer to the bottom layer, right-click on the component and select "Flip Layer". This command will move the component to the opposite layer from where it is currently.

Note: you will see that the "Flip layer" option creates an Object-Specific Layout Rules with the value "invert". You can manually edit the rule and position the component in the desired layer.
Routing
To start routing, look for an air wire connecting two pins and hover your cursor over one of the pins. If done correctly, the pin should turn to a blueish color. You don't need to use any tools or menu options.
How to Start a Trace
To begin creating a trace:
- Hover your cursor over the pad where you want to start routing.
- A small white dot will appear on the pad—this is the trace handle.
- Click the white dot to begin routing your trace.
- Move your cursor to define the path. Click to add waypoints, and double-click to finish the trace.
Note: you can press the letter "F" at any time to change the direction of the trace angle (elbow).
Placing vias
There are two main ways of adding vias:
- While in routing mode, you can right-click to select the target layer. Flux will automatically place a via and continue routing in the new layer
- With the "Layout" object selected, right-click and go to "Add"->"Via"