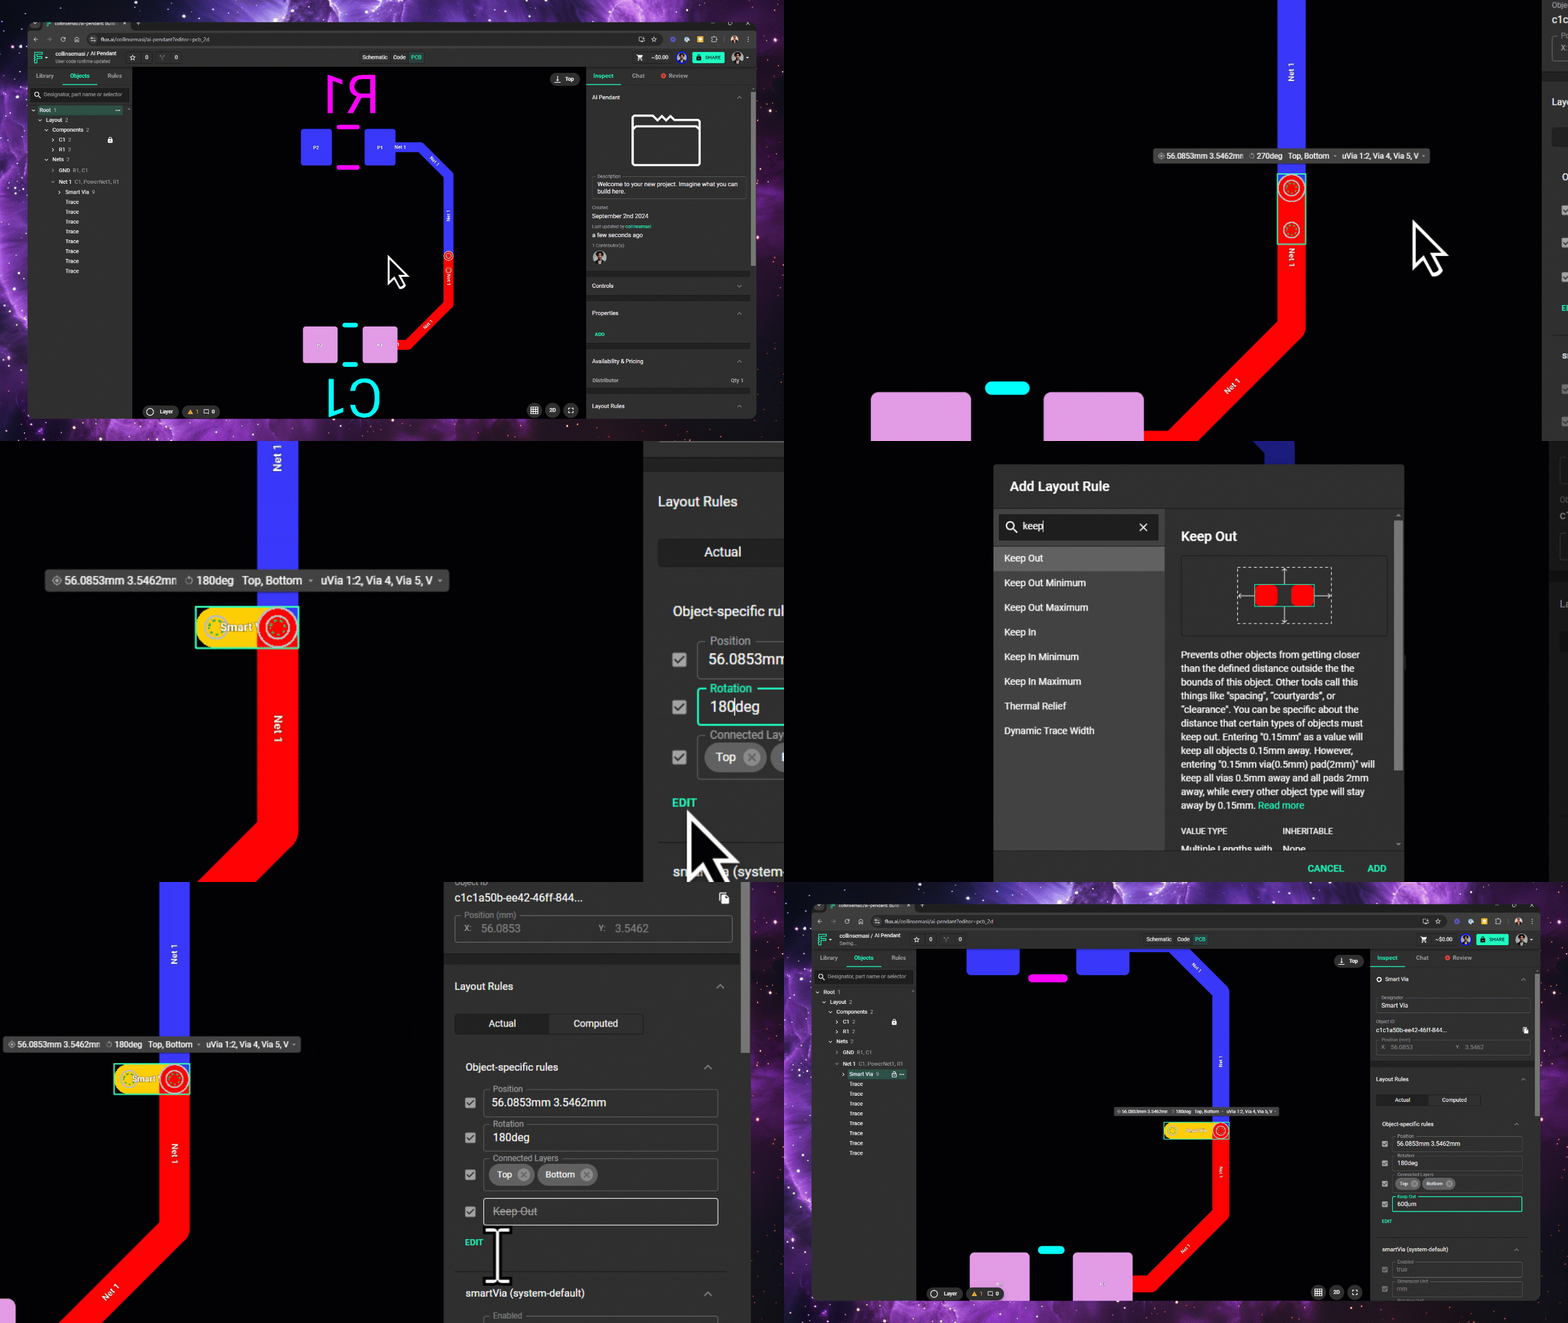
Simplified HDI design with automatic selection and placement of optimal via types and configurations.
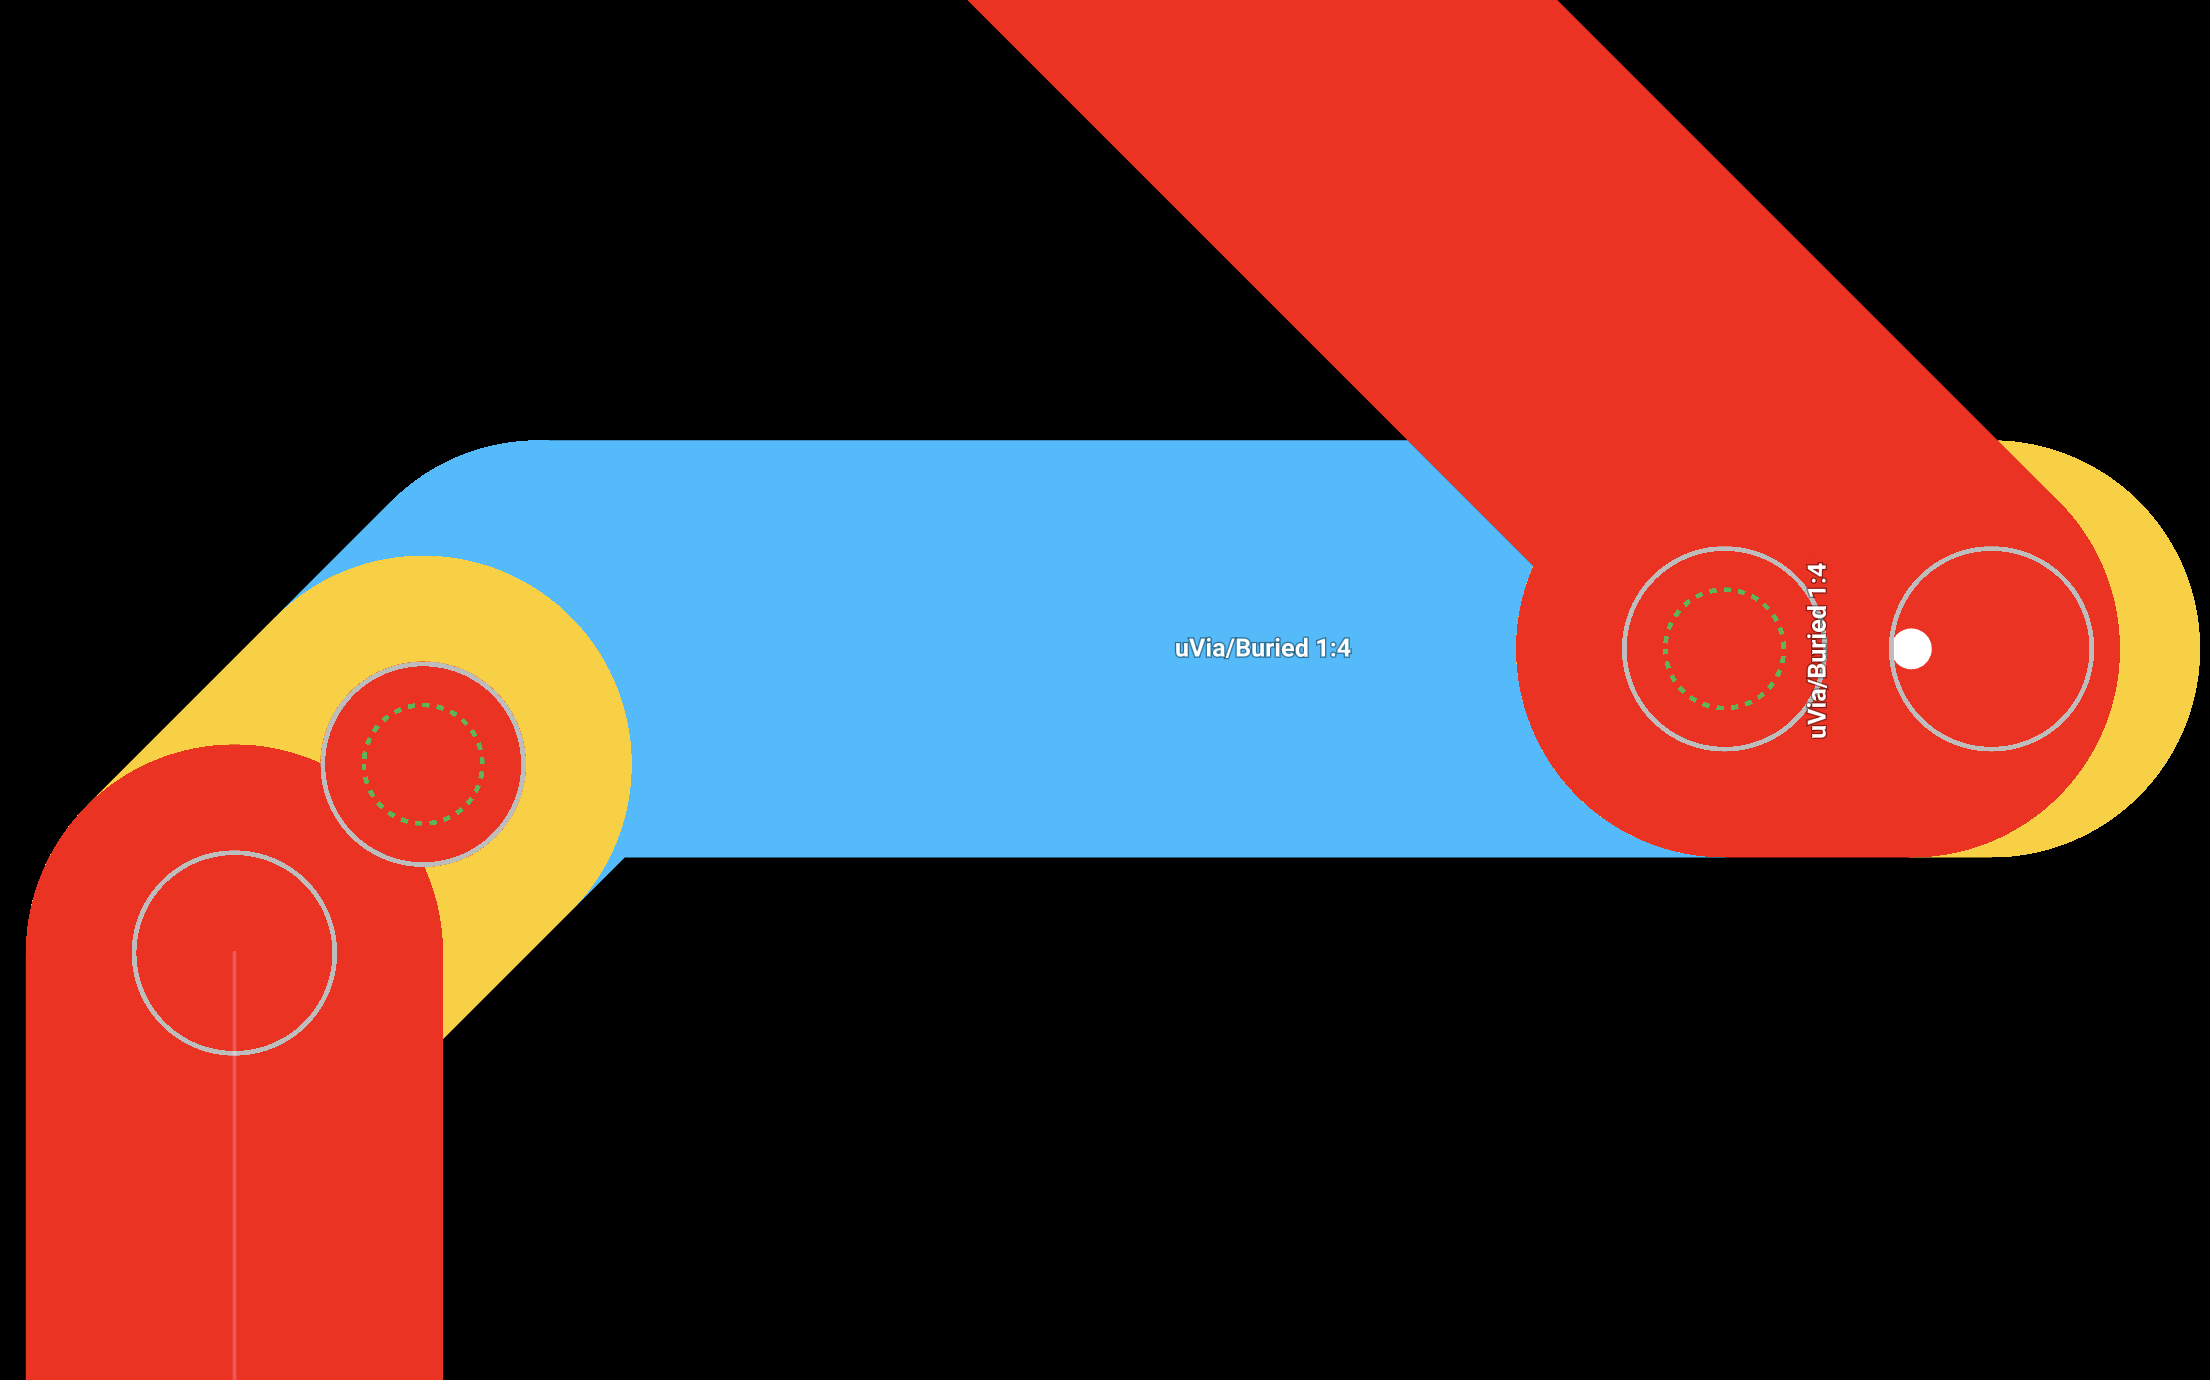
Overview
In traditional PCB design, designers are required to select the appropriate via type for each connection, which can be challenging and prone to errors, especially in multi-layered boards. Flux simplifies this process by automatically determining the optimal via configurations and applying them where needed.
For example, if you need to connect a trace from mid-layer 2 to the top copper layer, Flux's Smart Vias feature allows you to select the start and end layers, and it will automatically place the necessary vias and adjust the layout
Getting Started
Smart vias will automatically be in use when blind, buried or microvias are configured. To configure these kinds of vias, see Vias in PCB Design.
How is the Right Via Selected?
Ask Flux to connect layers with the via that matches the layer transition.
To do it in the UI:
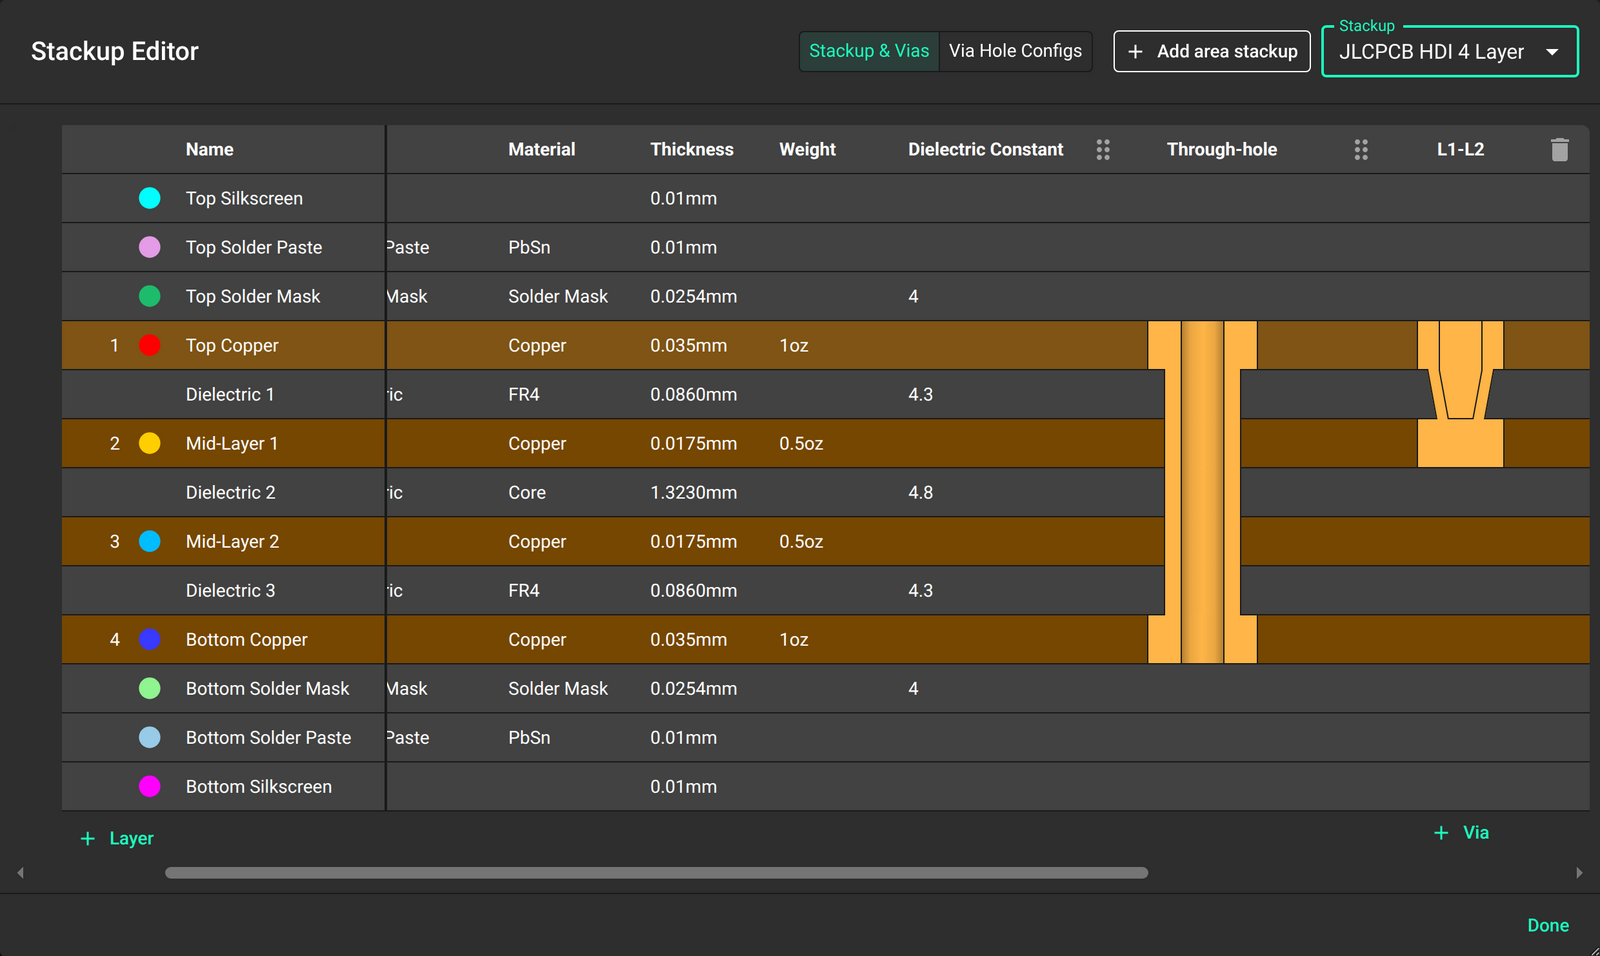
After adding all the via configs you will be using in your design, selecting the right via for a particular layer transition is a matter of prioritization. For example, assume that you have a stackup with 3 via configs:
Blind 1:2
uVia 1:2
Through-hole via
As shown below
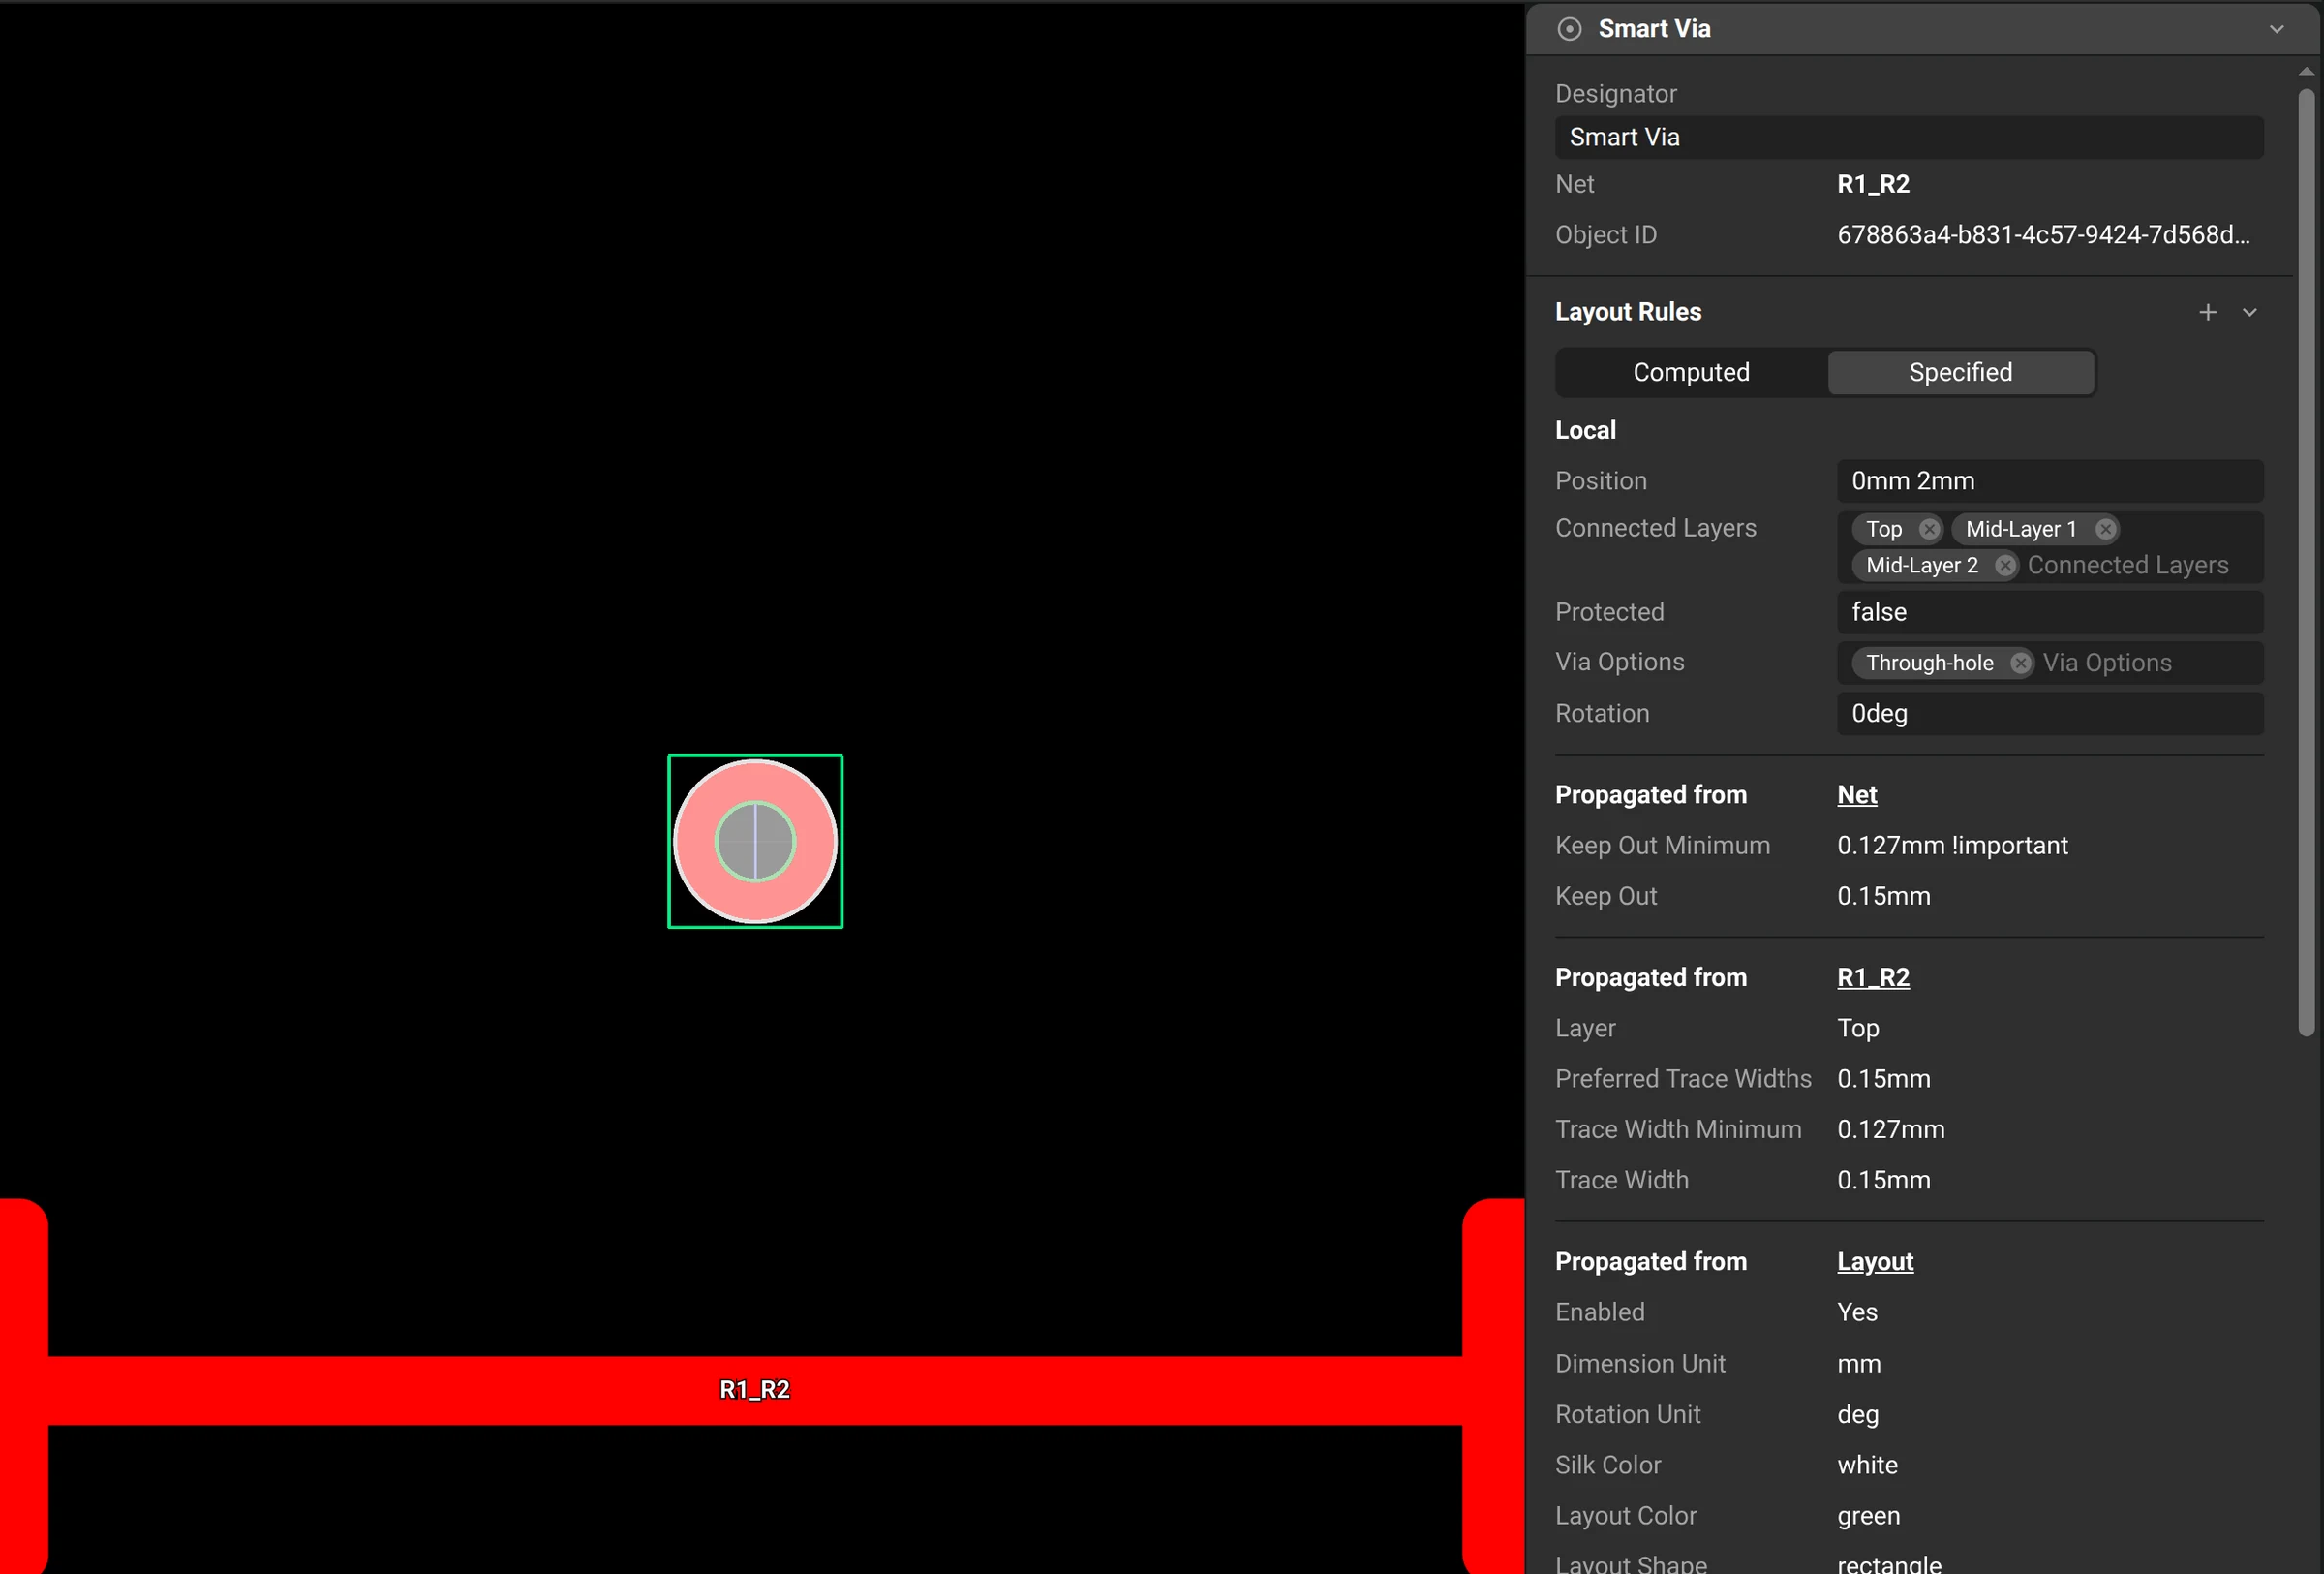
To use uVia 1:2 instead of Blind 1:2 during routing, do these two steps:
Place a via while on the Top Copper: right-click the canvas, select Mid-Layer 1 from the layer menu, and finish the trace.
Select the placed via. A toolbar appears. Click "via options", the drop-down on the far right of the toolbar. Then click the Blind 1:2 via to remove it from the list. The via visualization changes to show the uVia 1:2 configuration.
Changing Via Type Priority
When setting up your via configs, it is important to remember that the order in which the via configs exists in your stackup is directly related to the priority of those via configs. Via configs on the far left have high priority while via configs on the far right have low priority. This means that when transitioning from one layer to another, Flux will first attempt to use the via config with the highest priority. If that config isn't suitable due to some design rules, manufacturability constraints, or layer restrictions, it will then proceed to the next via config in the order of priority until it finds a suitable one. If no suitable via config is found, Flux will default to the Through-hole via.
To change the priority of a via config, hover at the top of the via config, where its name is. Drag it to the left to increase its priority, or drag it to the right to decrease its priority.
Advanced Rules
Four rules affect smart vias (see Layout Rules Reference):
Rotation rule
Via Options rule and
Ask Flux to set the smart via rules.
To do it in the UI:
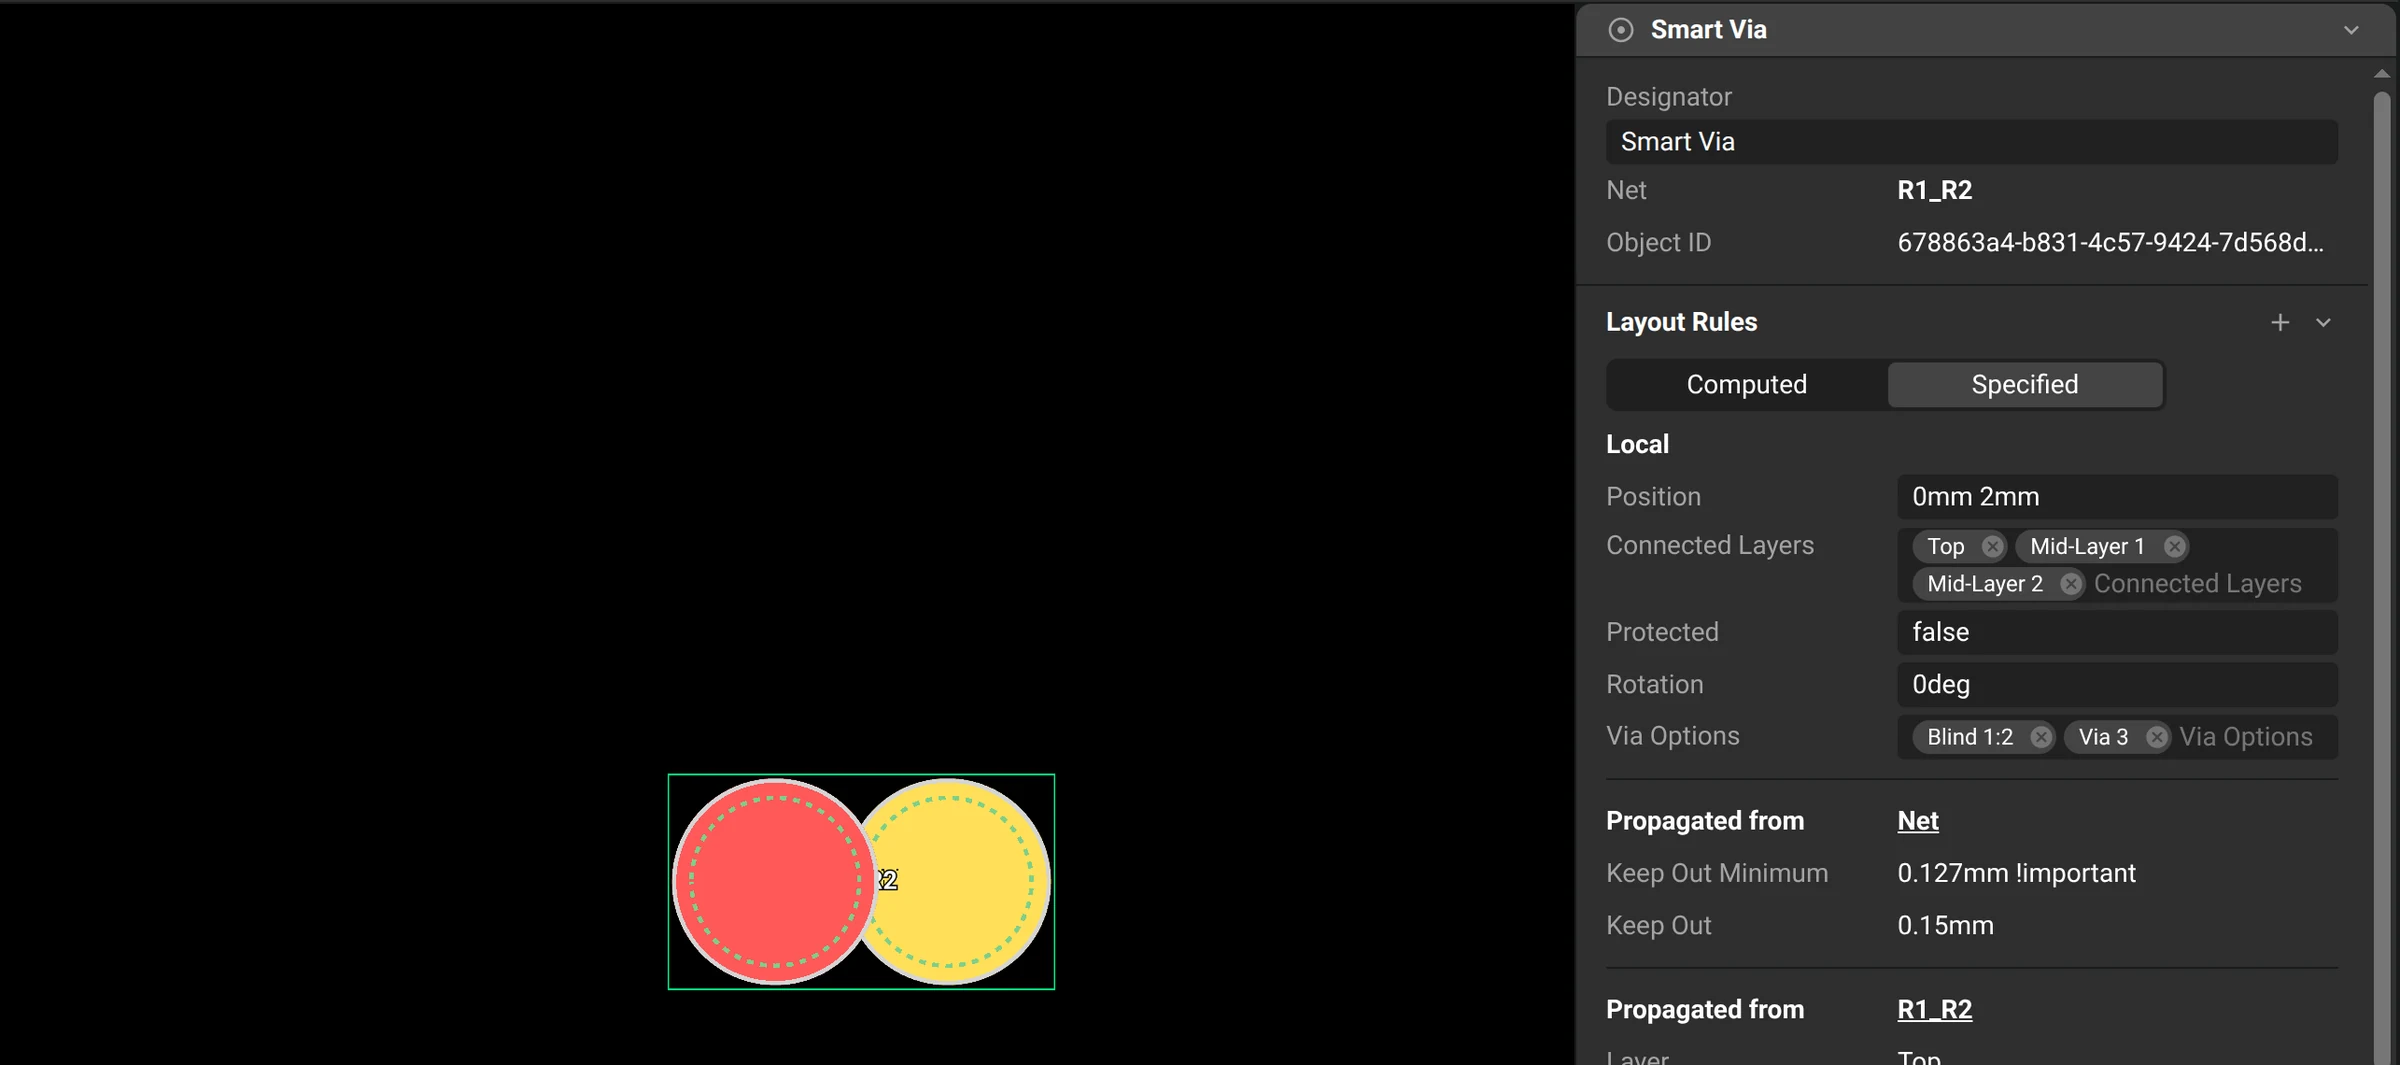
You can configure the way smart vias are laid out and operate by modifying any of these rules from either the toolbar or the inspector panel on the right side
Keep-Out Rule
Ask Flux to change the keep-out distance.
To do it in the UI:
This rule dictates the minimum hole-to-hole distance between vias. The default distance is set to 250 microns, but you can adjust this value to meet specific design needs. A larger distance puts vias farther from each other. A smaller distance packs the vias more tightly.
Rotation Rule
Ask Flux to change the rotation of staggered vias.
To do it in the UI:
This rule controls the angle of staggered via configurations. By default, Smart Vias rotation angles are automatically computed to best suit the design, but this can be changed to other angles, such as 180 degrees, depending on your design requirements.